In client creation, you can create an application and update all the information about the client who can avail a Loan Products, Savings Products, Share Products, Line of Credit Products, Fixed Deposit Products, and Recurring Deposit Products from your office.
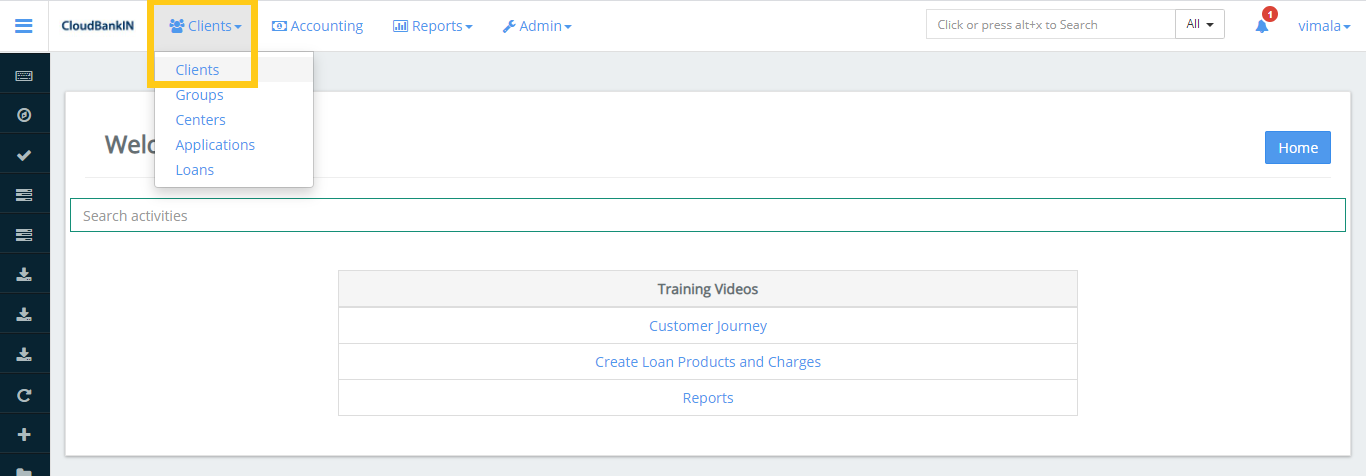
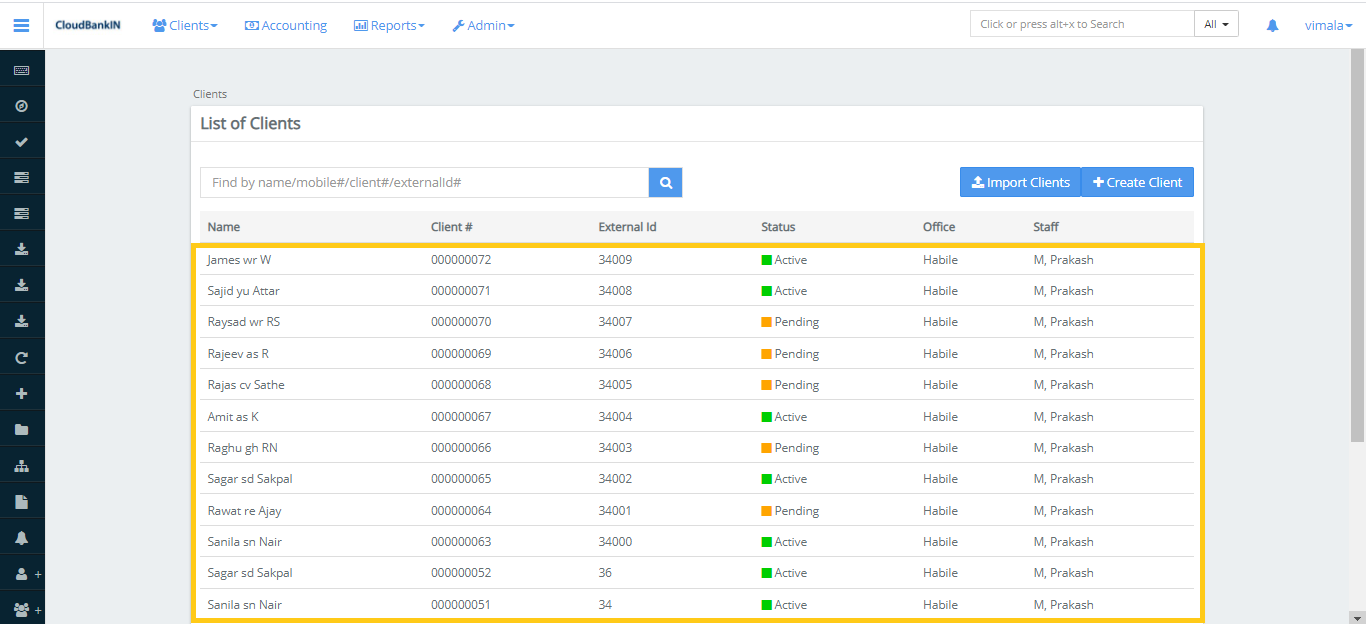
Click on the Clients tab in the menu and select Clients.
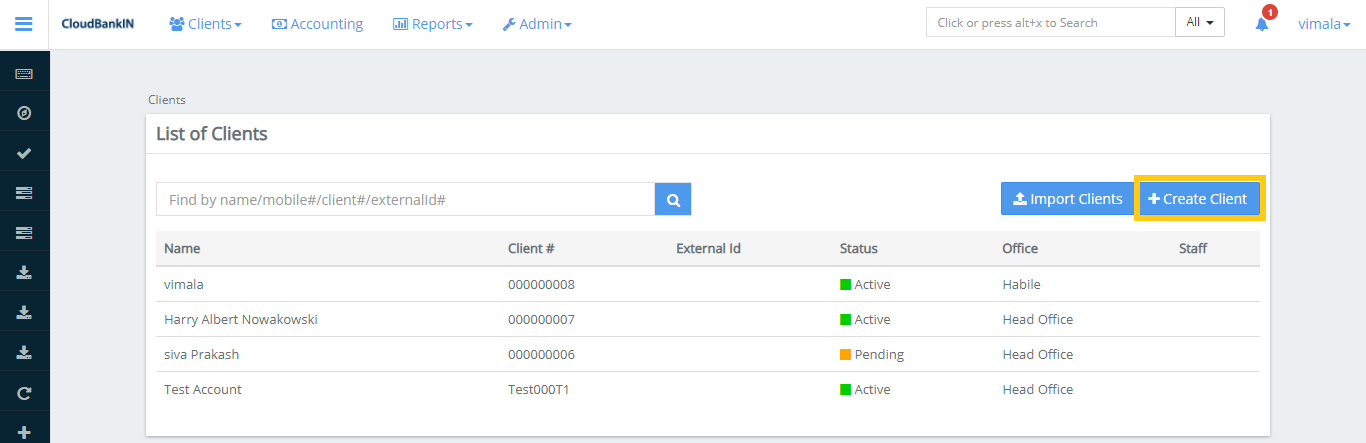
It opens a new page that contains a list of all existing clients. Now click on the Create Client button. If you want to import the client details you can go to Import Clients.
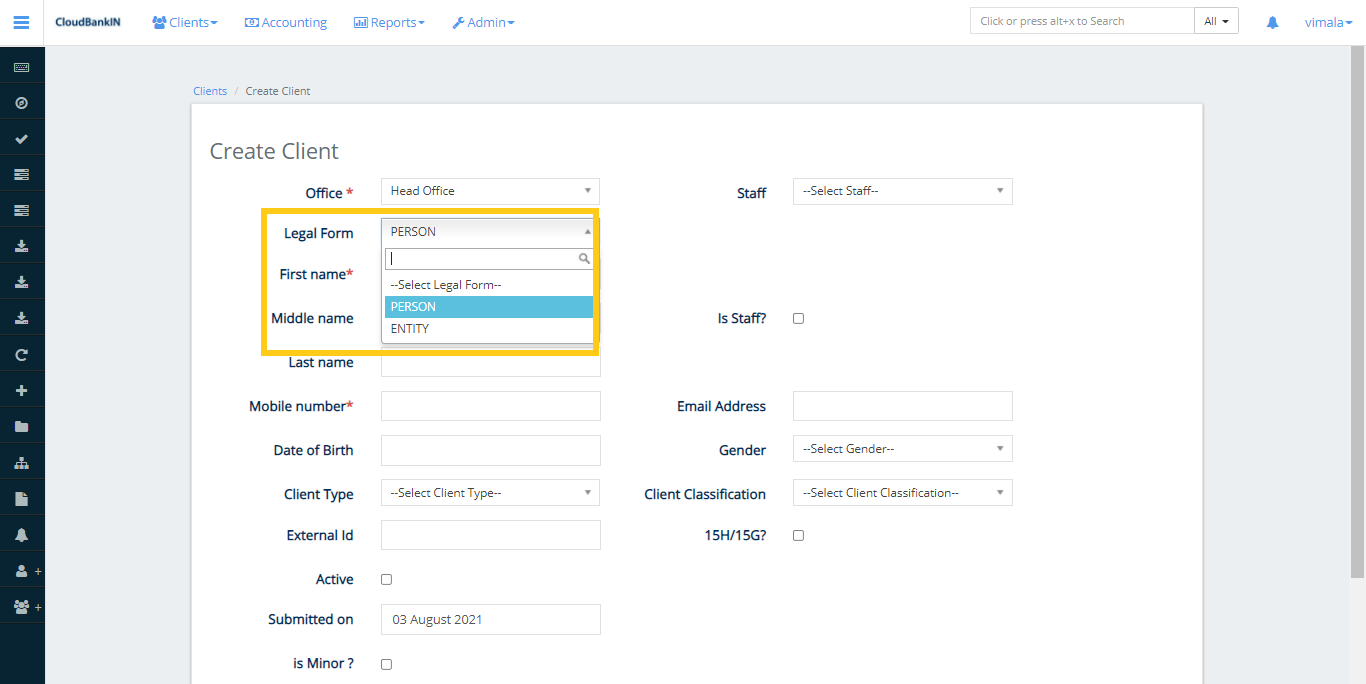
In the Create Client form update the required details (Note: Fields with an asterisk(*) are Mandatory).
Select Legal Form as Person
In the Legal Form, select the value as a person, if you’re onboarding an individual as a borrower.
Field Name and Description
Create Client
Office(*) – Select the office to which the client should be associated
Legal Form – Choose the value from the drop-down (Person refers to an Individual & Entity refers to an Organization)
First Name(*) – Specify Client’s First Name
Middle Name – Specify Client’s Middle Name
Last Name – Specify Client’s Last Name
Mobile Number(*) – Enter Client’s Mobile Number
Date of Birth – Select the Client’s Date of Birth
Client Type – Select the Client’s type from the drop-down. You can change this as per your requirements in Manage Codes (eg., Student, Salaried, etc.,). You can add your client type in the
Admin ->> System ->> Manage Codes ->> ClientType ->> Add Code Values
External id – Specify any reference unique identifier of the client (i.e, Client’s application number)
Activation Date (*) – If you select the Active checkbox, it will ask for the client Activation Date. You can only provide the loan once the client’s status has been changed to Active
Submitted On – Specify the application submission date
Is Minor? – If the applicant is Minor select the checkbox
Guardian Name – Enter the Guardian Name
Guardian PAN – Enter the Guardian PAN
Guardian DOB – Enter the Guardian DOB
Staff – Specify the Name of the applicant is associated with your organization
Is Staff? – Click on the check box if the applicant is your staff
Email Address – Enter the Email of a person
Gender – Specify the Gender of a person
Client Classification – Select the Person’s Classification from the drop-down. You can change this as per your requirements in Manage Codes (eg., Individual, Married, etc.,)
15H/15G? – Self-declaration form states that one’s income is below the taxable limit and hence tax-free
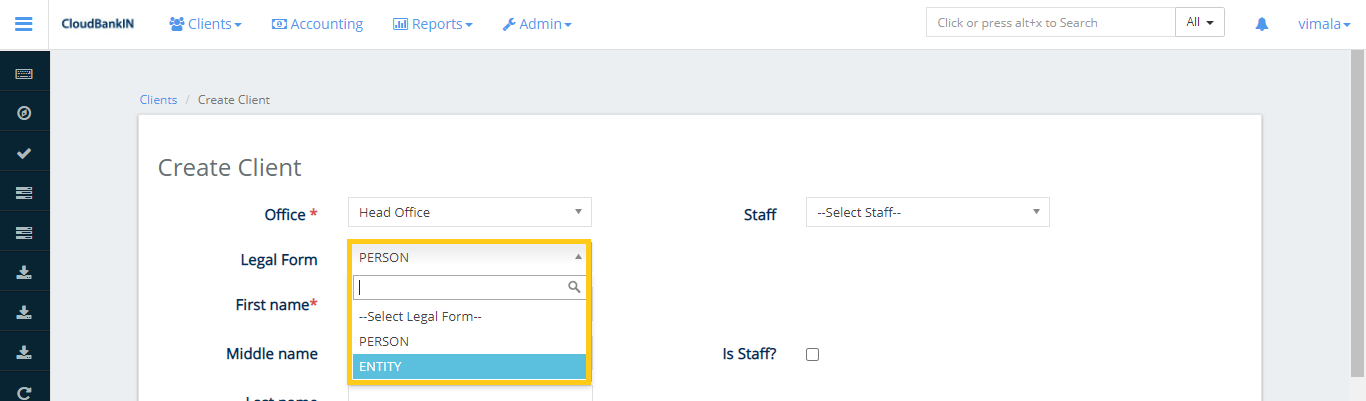
Select Legal Form as Entity
In the Legal Form, select the value as an Entity if you’re onboarding an Organization as a borrower.
Field Name and Description
Create Client
Refer to the above Field Description(B) for the common fields. Below are some new fields and their description.
Incorporation Date – Select the Entity’s Incorporation Date
Incorporation Number – Specify Incorporation number
Constitution – Select the Constitution from the drop-down. You can change this as per your requirements in Manage Codes (eg., Pvt Ltd, Public Ltd, etc.,)
Remarks – Provide if any remarks
Incorporation Validity Till Date – Specify the Entity’s Incorporation validity date
Main Business Line – Select the Main Business Line from the drop-down. You can change this as per your requirements in Manage Codes (eg., Pvt Ltd, Public Ltd, Manufacturing, textile, etc.,)
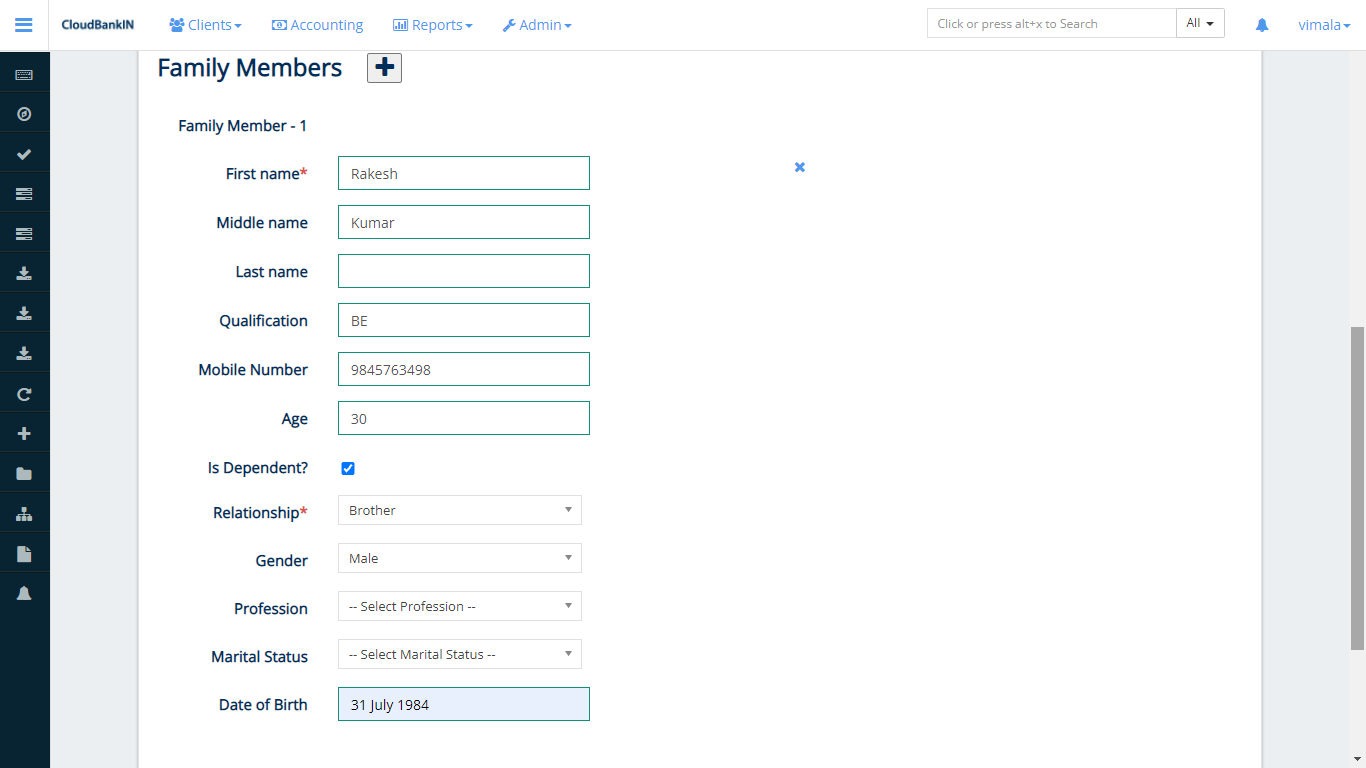
Family Members
Enter family member’s information who can be contacted in case he or she is not available.
Field Name and Description
First Name(*) – Specify Client’s First Name
Middle Name – Specify Client’s Middle Name
Last Name – Specify Client’s Last Name
Qualification – Specify the Qualification of the family member
Age – Specify the Age of the family member
Is Dependent? – Select the checkbox if the family member is Dependent
Relationship(*) – Specify the Relationship between the Person or Entity with the family member
Profession – Specify the profession of a family member
Marital Status – Select the Marital Status from the drop-down (e.g, Single, Married)
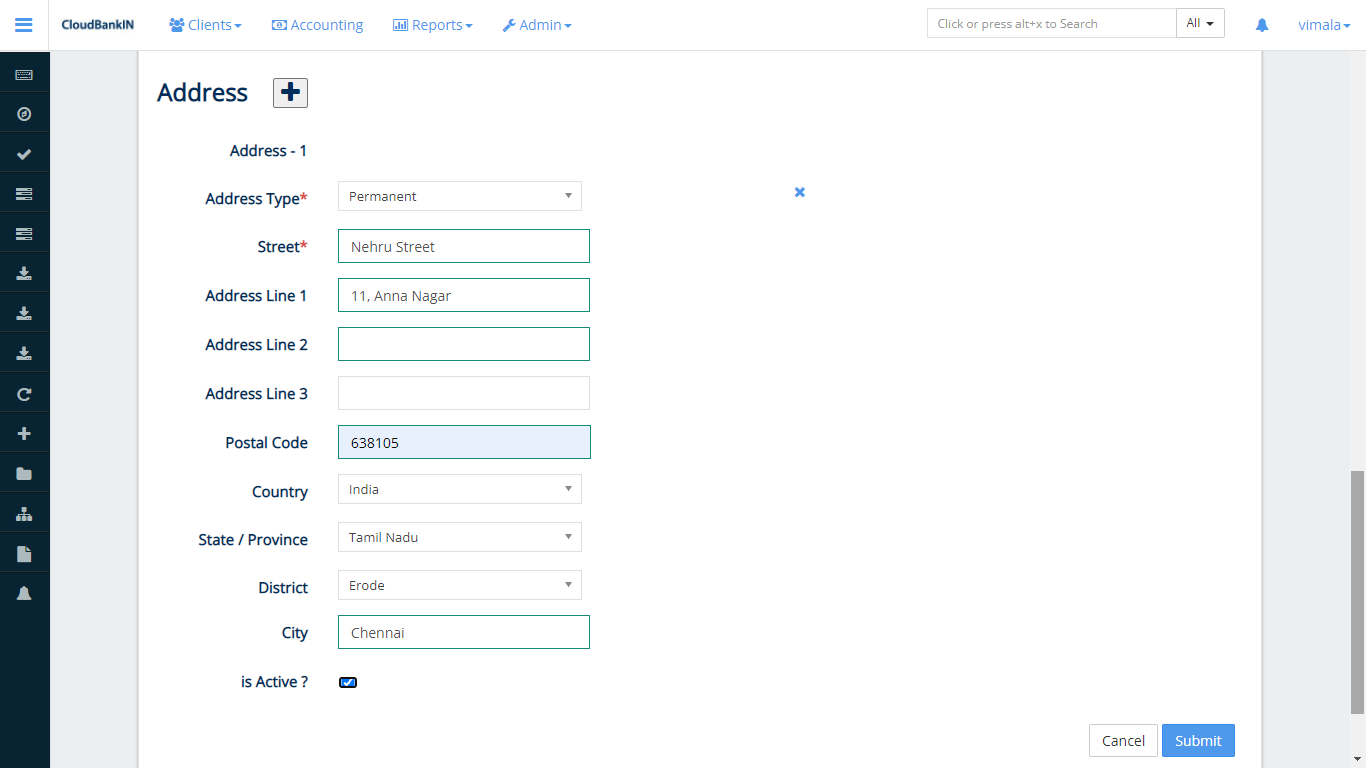
Address
Specify the Address of the Family Member.
Field Name and Description
Address Type(*) – Specify the address of the Family Member
Street(*) – Specify Street details of the Family Member
Address Line1 – Specify Address of the Family member
Postal Code – Specify the Postal Code of the Family Member
Country – Specify the Country of the family member
State / Province –Specify the State of the family member
District – Specify the District name
City – Specify the District name
Is Active? – Check the box if the family member is Active
Once the details are updated, click Submit button
Once the data is Imported you can see the clients in the View Client form.