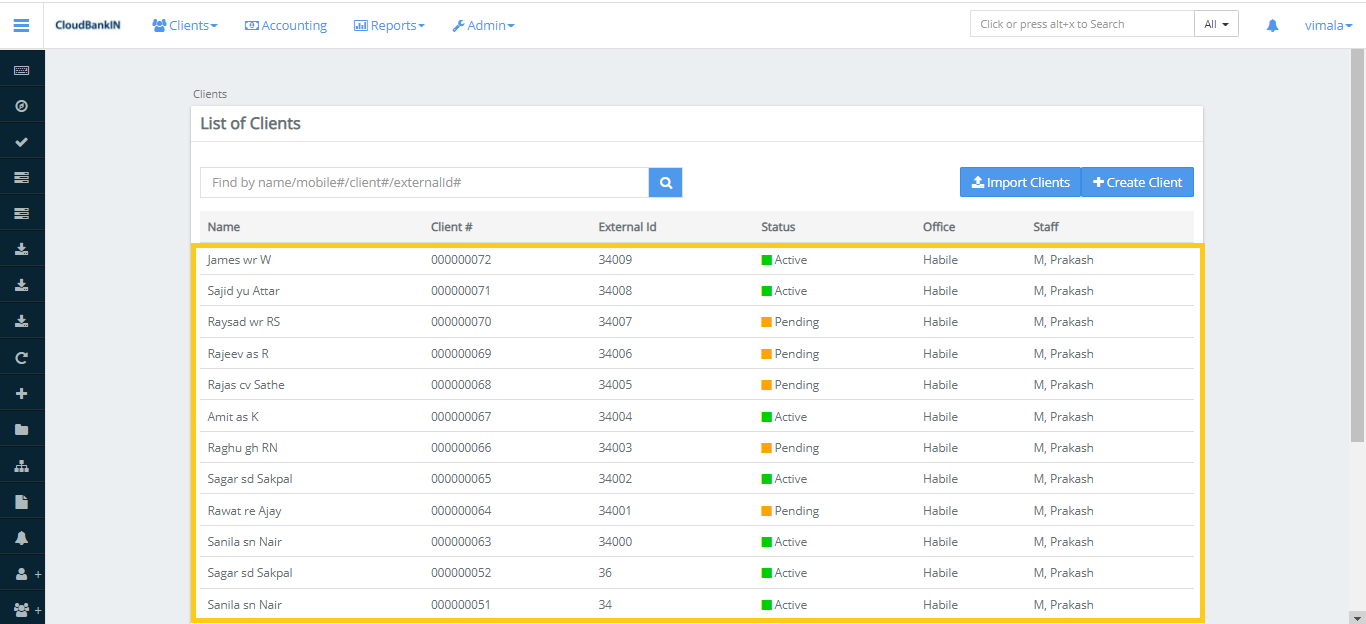
Once the Client is created it will be displayed in the View Client form.
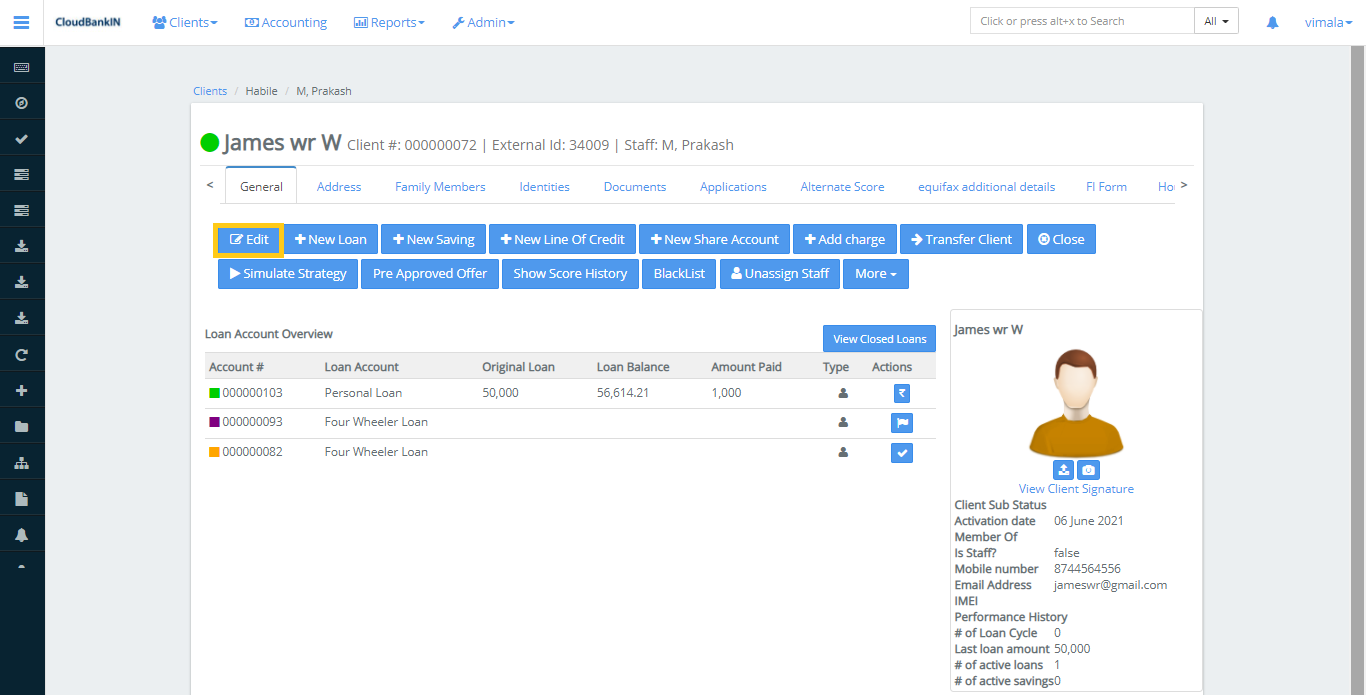
If you want to edit the client details, select the client name and click on Edit.
You can also add a photo of the client.
Once the client is created you can Activate the status either in
Create Client Form or
View Client form.
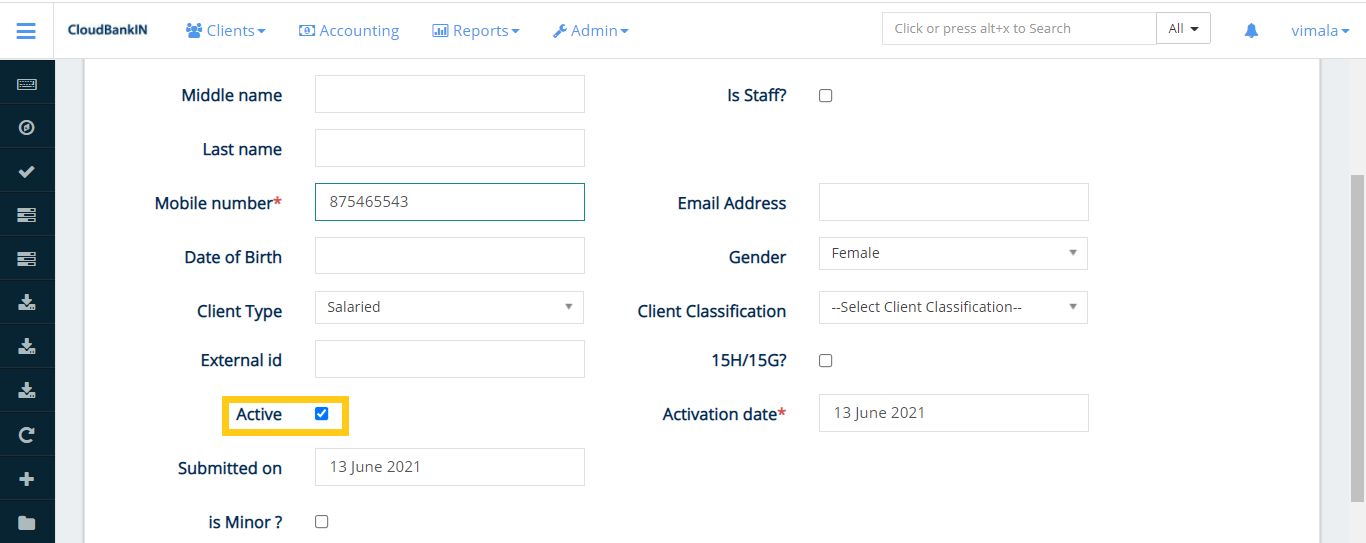
Activation in Create Client Form
Click on the Active check box and select the Activation date.
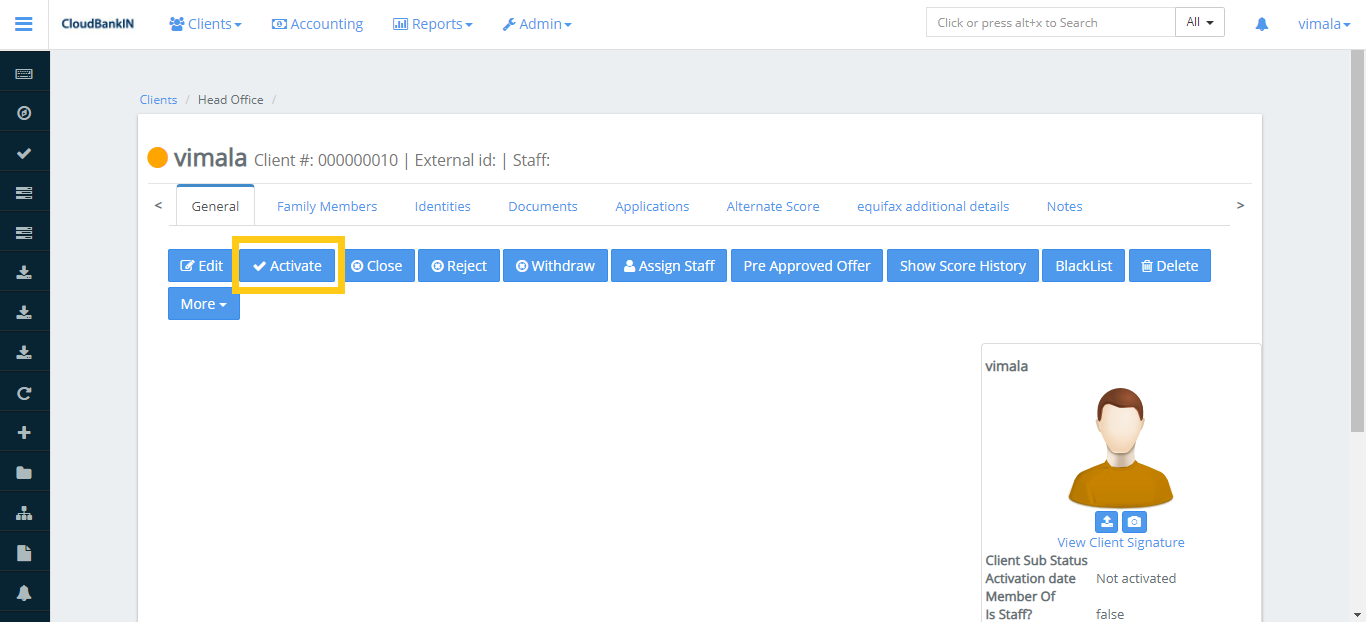
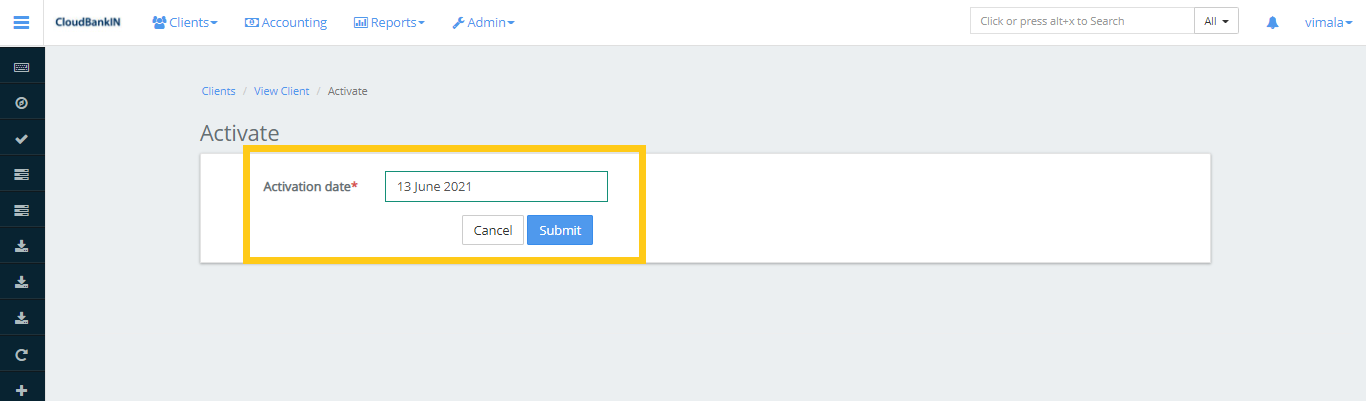
Activation in View Client Form
Click on the
Activate button and select the Activation date in the Activation form.
You can add the Family Members, Identity and Documents of a Client.
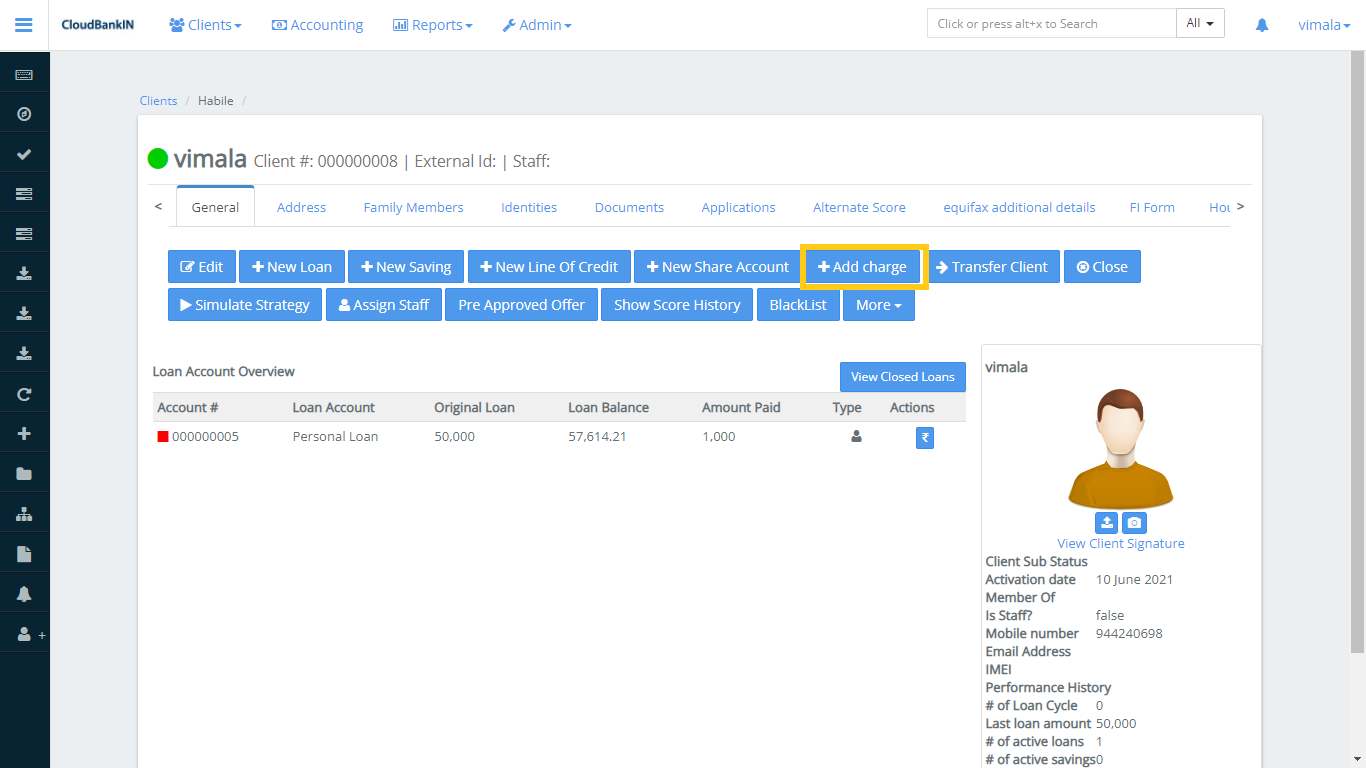
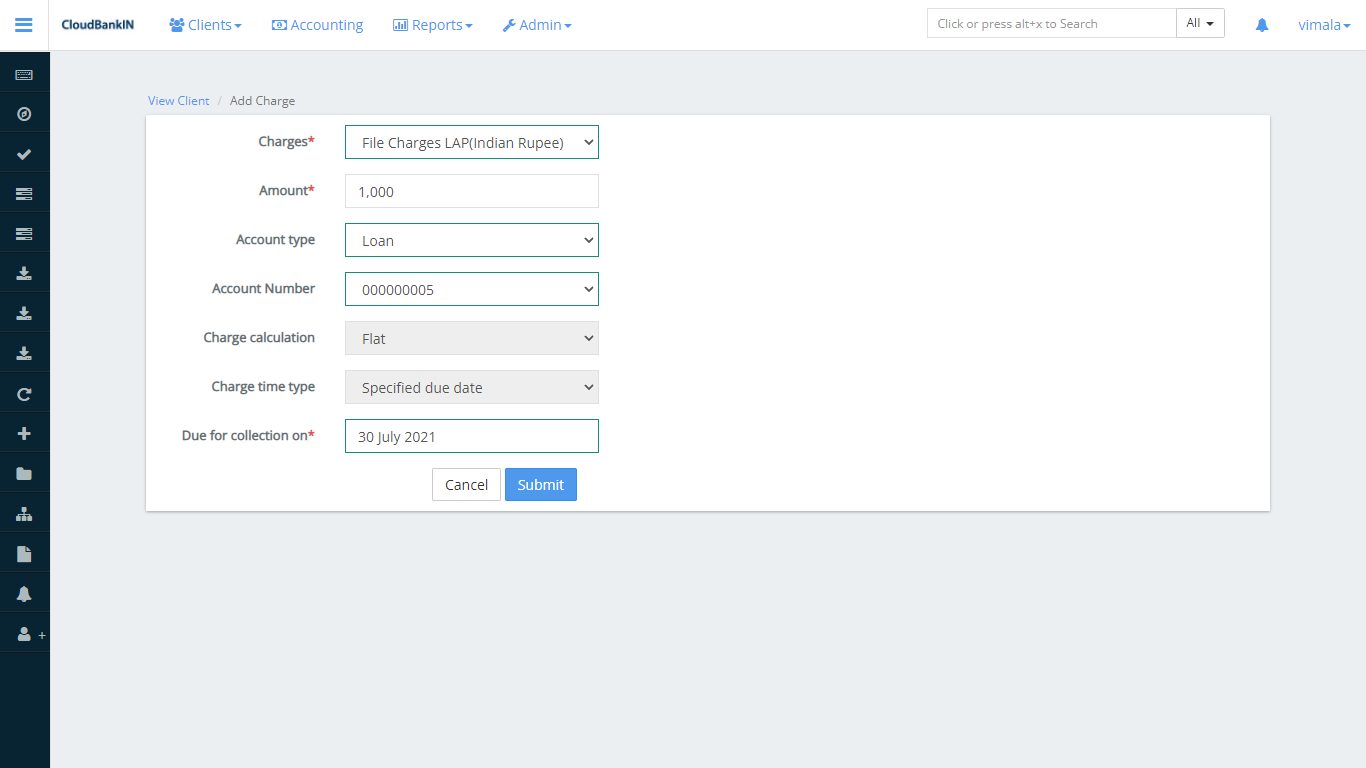
Add Charges
It specifies the charges can be added to the particular client.
Menu Name and Description
Charges(*) – Choose the charge you want to include for the particular client. Charges can be added by clicking on Admin ->> Product ->> Charges ->> Create Charge
Amount(*) – Specify the amount to be charged for this client
Account Type – Specify the account type for this charge. i.e., Client, Loan etc.,
Account Number – Specify the account number of the client.
Charge Calculation and Charge time type – It will be automatically update as we specified during charge creation.
Account Number – Specify the account number of the client.
Due for collection on(*) – Specify the due date for collection.
Once the details are updated, click Submit.
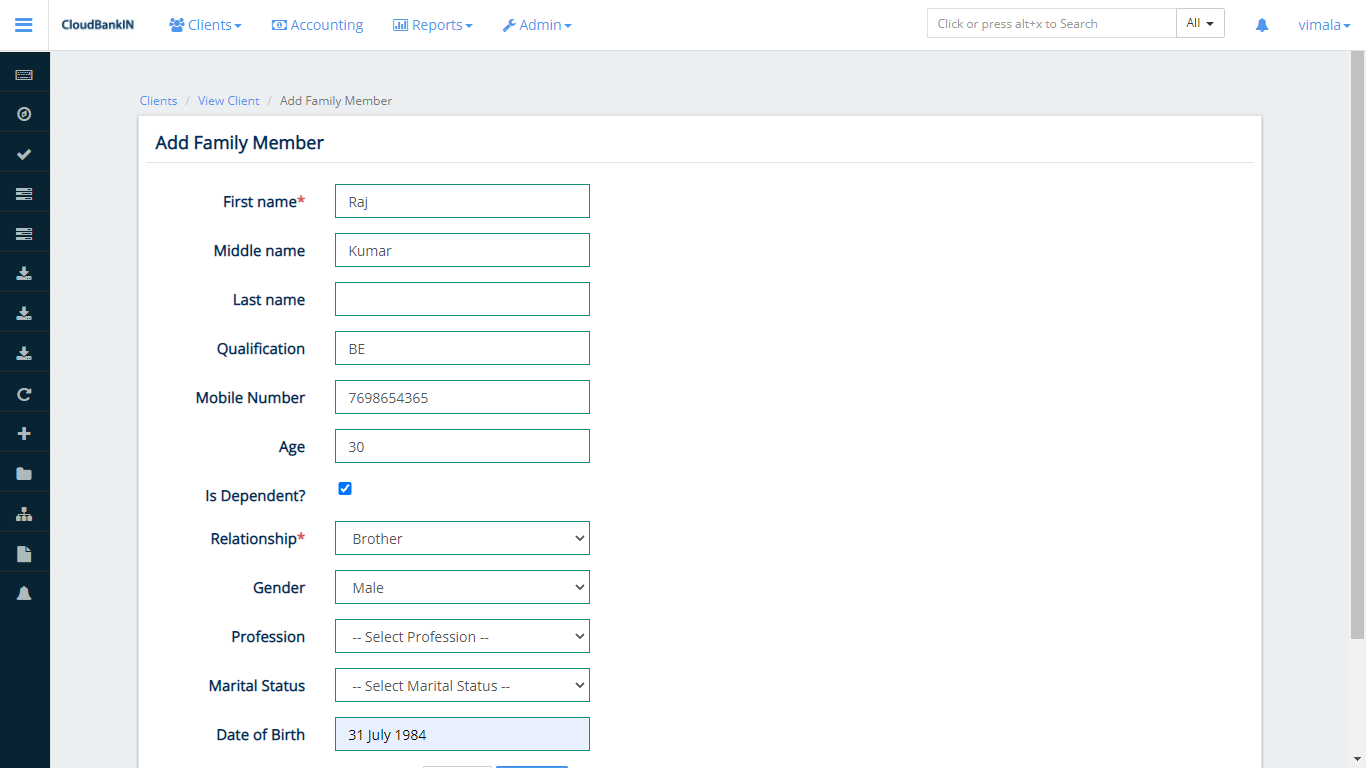
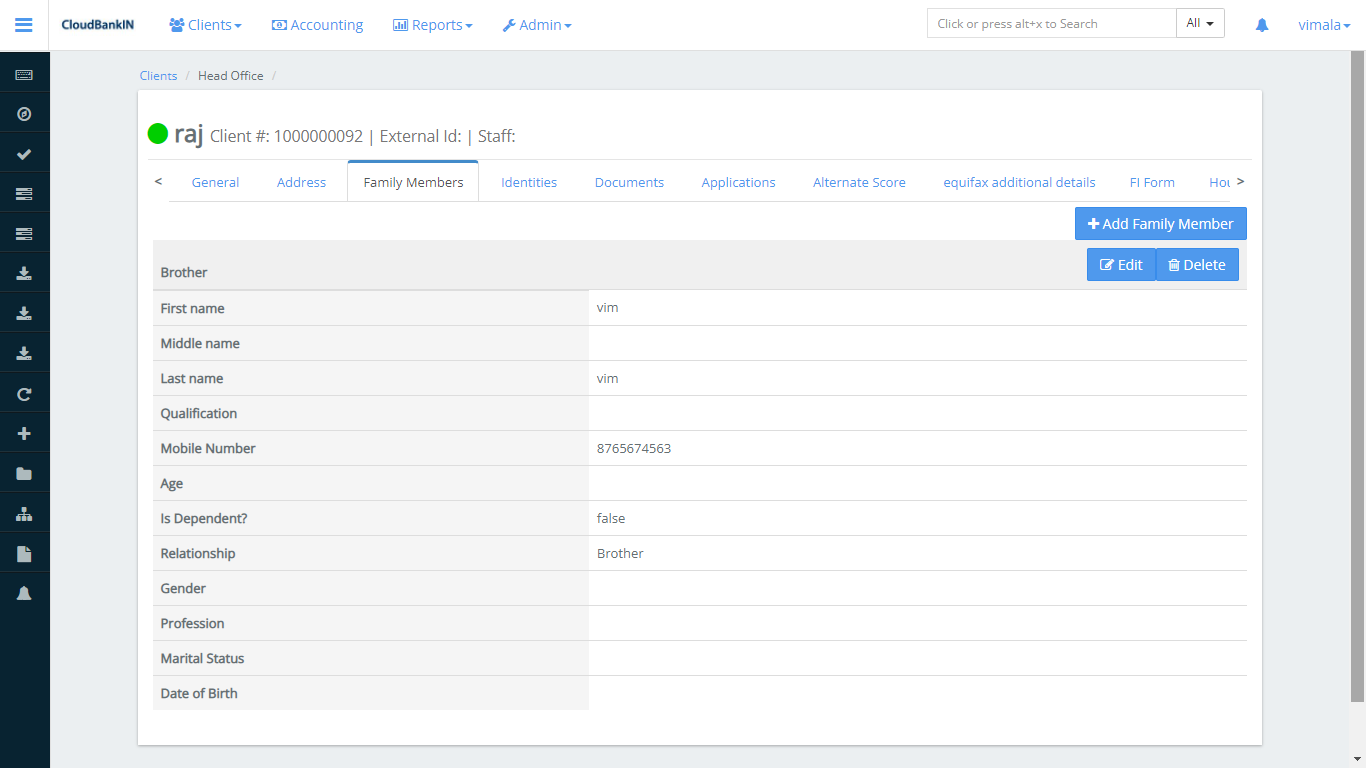
Add Family Members
In this menu, you can add the Family Members Details.
Click on
Add Family Member to add the details.
Once updated the Family Members detail click on Submit.
Now you can see the able to see the details under Family Members tab.
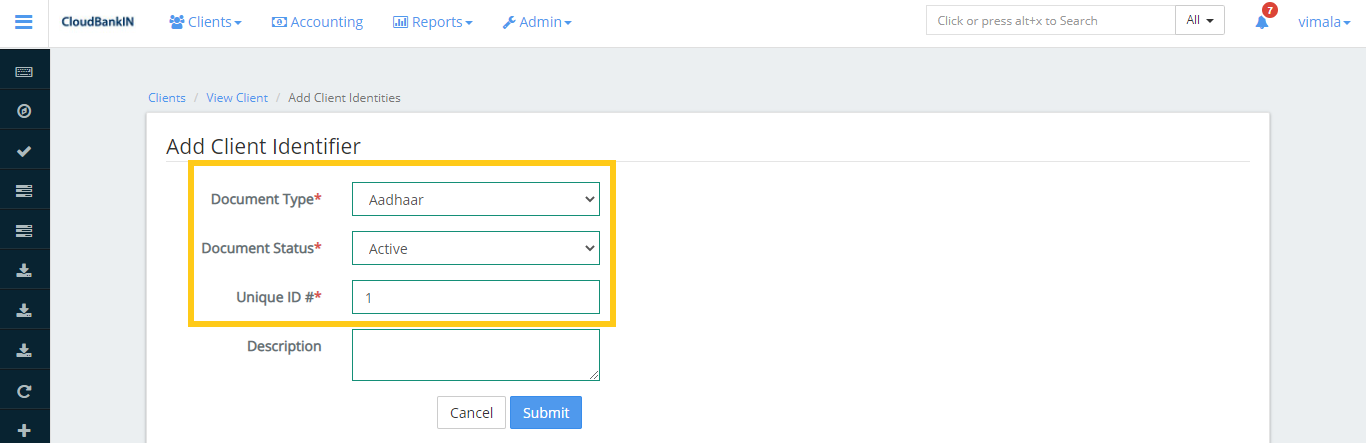
Adding Identities
In this form, you can add the
Identity details of a client.
Field Name and Description
Document Type(*) – Choose the document type you want to upload from the list. For example Aadhar, PAN etc. For US, it’s SSN no. Click here to know – Add document type in Manage Code
Document Status(*) – Choose the document status Active/Inactive from the drop-down
Unique ID(*) – Specify the unique ID of the document you’ve selected. It will not accept duplicate values.
Description – Specify if any information about the document.
Once the details are updated, click Submit.
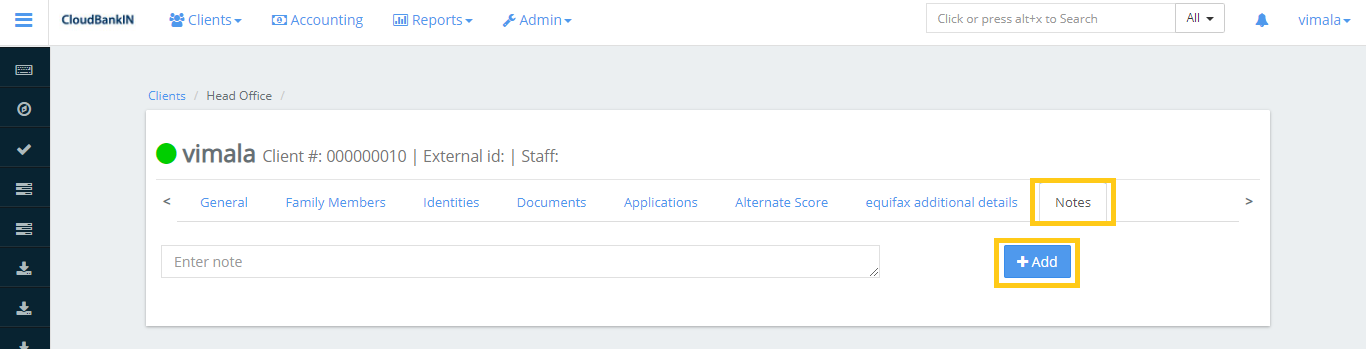
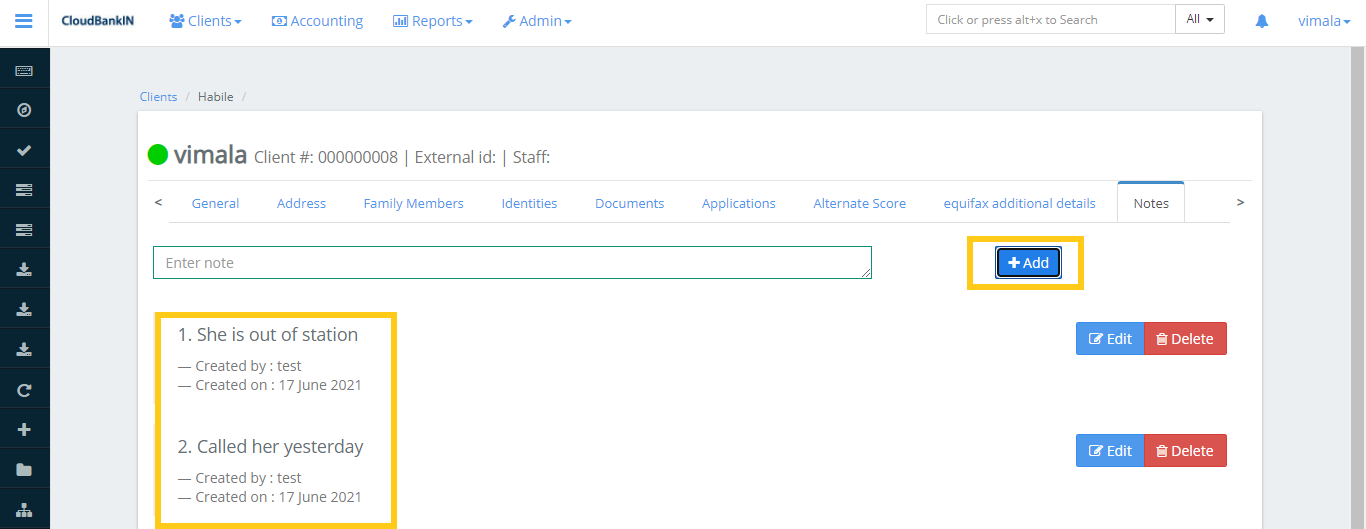
Notes
In Notes, you can add any additional information about the clients for your future reference.
You can add more notes by clicking the
Add button.