Bulk imports enable you to import large amounts of data more quickly. You can use this function for the Clients, Office, Loan Accounts ect.,
Import Office
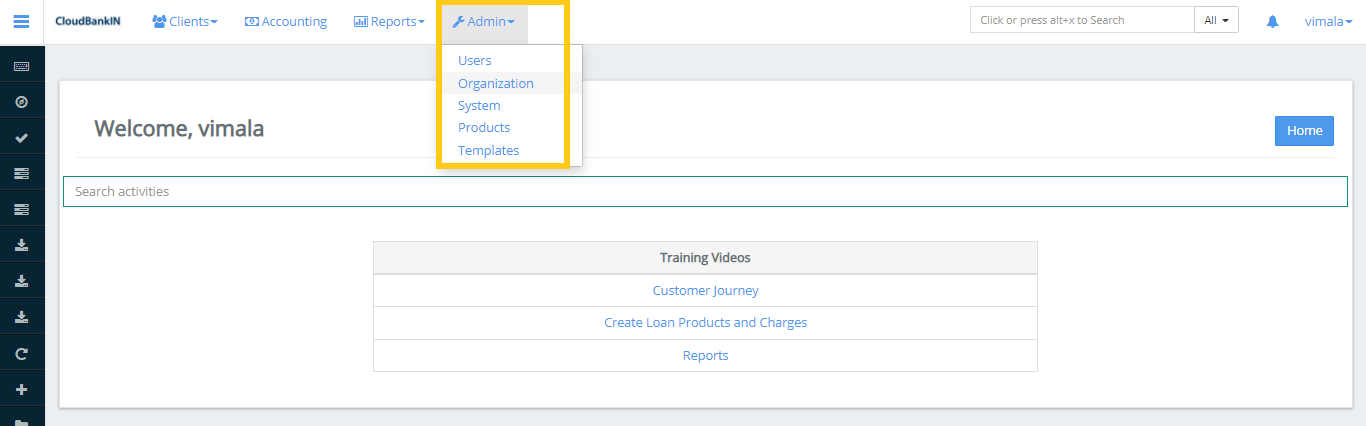
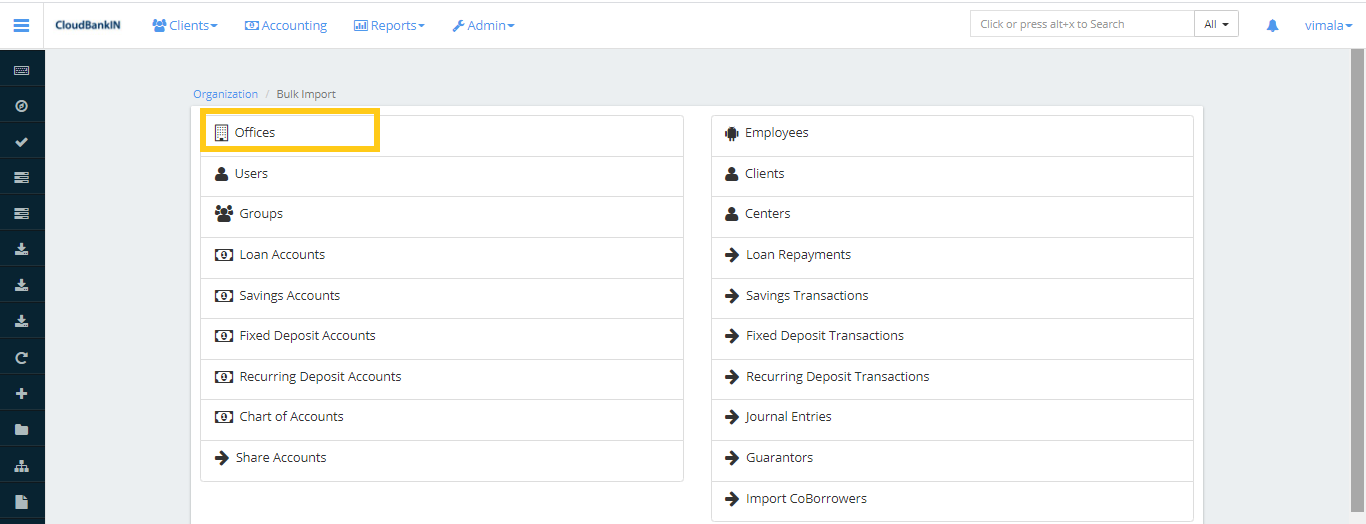
Go to Admin ->> Organization->> Bulk Import ->> Offices
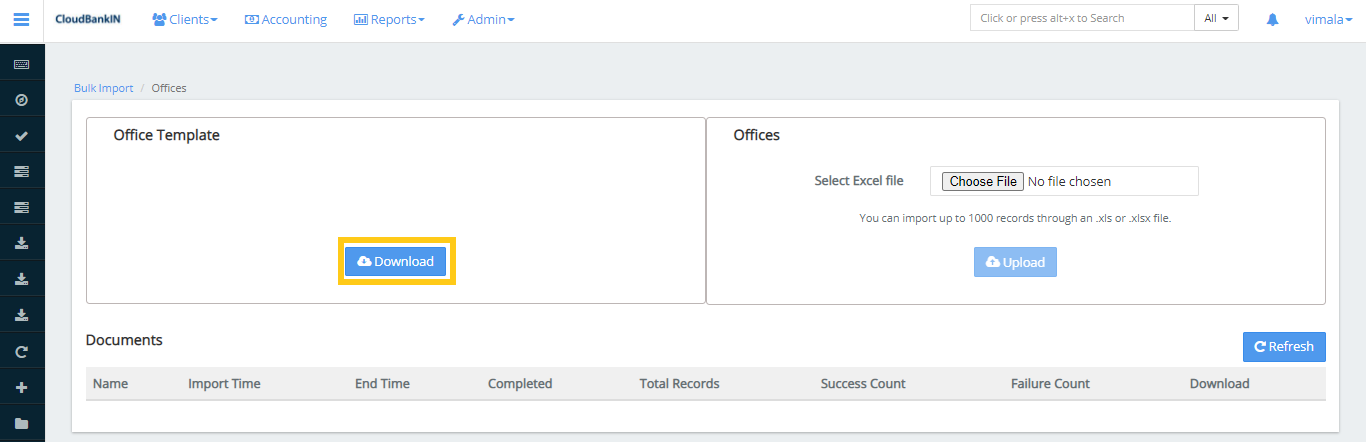
Click on the
download button to get the template to import the Offices.
Field Name & Description
Office Name(*) – Specify the name of Office
Parent Office(*) – Choose the Parent Office from the drop-down
Parent OfficeId(*) – It will automatically show the corresponding Parent OfficeId
Opened On Date(*) ( dd/mm/yyyy ) – Specify the Office Opened Date. It should be in the mentioned format
External ID – Specify the unique identifier of the office. (i.e, Office Id)
Mobile Number(*) – Specify the office mobile number
Address Type(*) – Choose the address type from the drop-down
Street(*) – Specify the street name of the office
Address Line 1,2,3 – Specify the office address
City – Specify the city name where the office is located
Postal Code(*) – Specify the office postal code. It should be the correct value
Choose the updated template file and upload it. You will get a notification saying your file is imported successfully.
Once the file is uploaded click on the Refresh button and check the details in the manage office form.
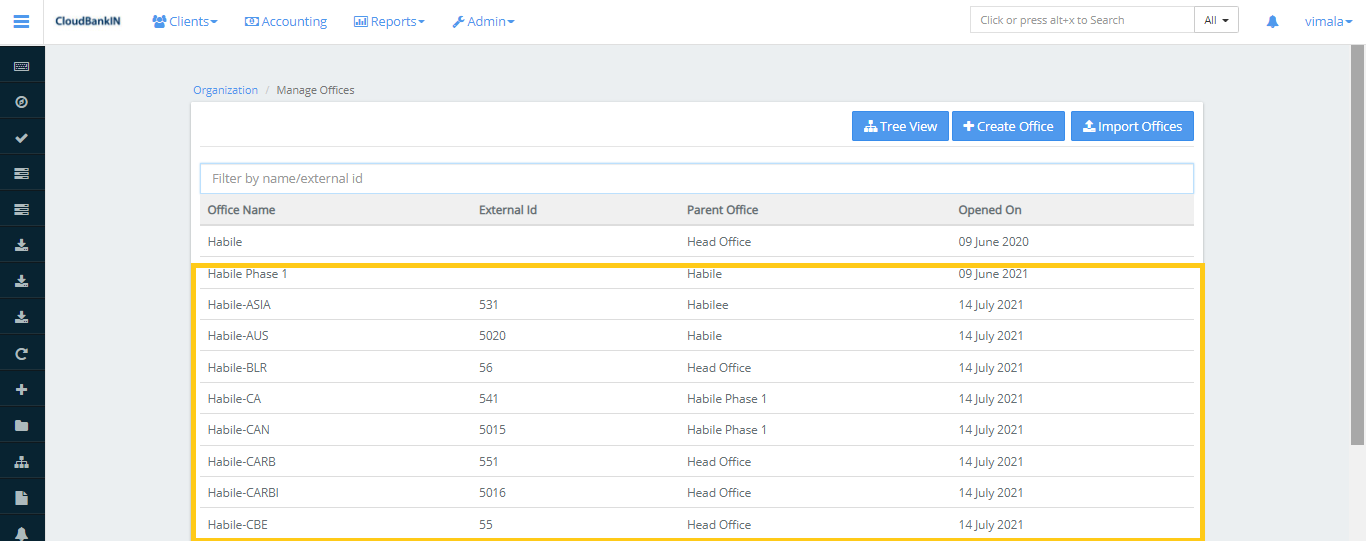
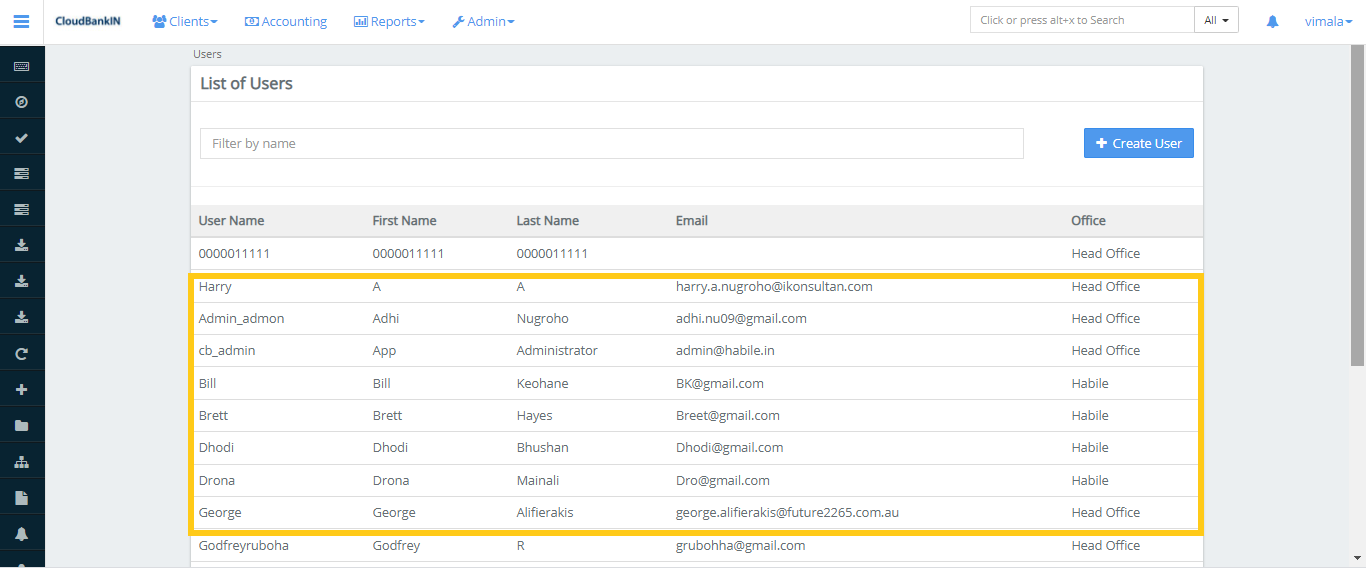
Uploaded data is added in the Office List.
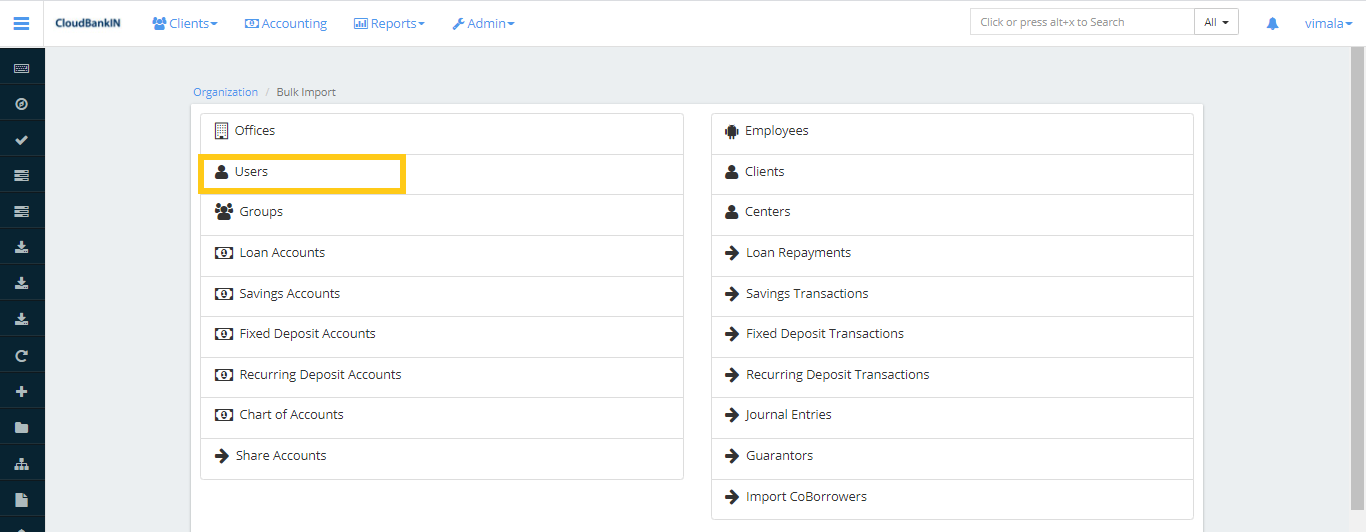
Import User
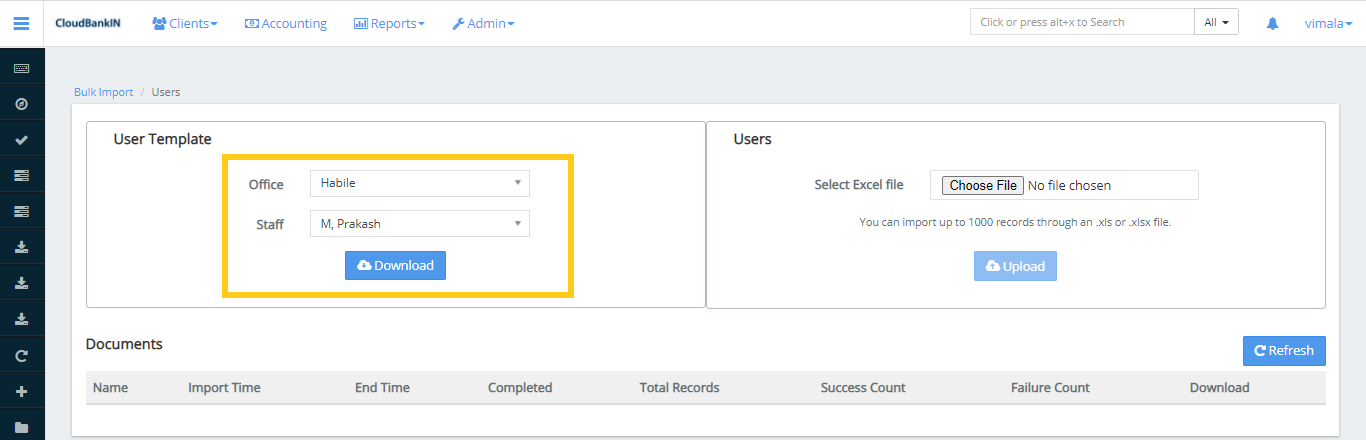
Go to Admin-> Organization -> Bulk Import -> Users
Select Office & Staff from the drop-down, if you want to map users below the specific staff. Otherwise, you can just select the Office Name.
Click on the download button to get the template to import the Users.
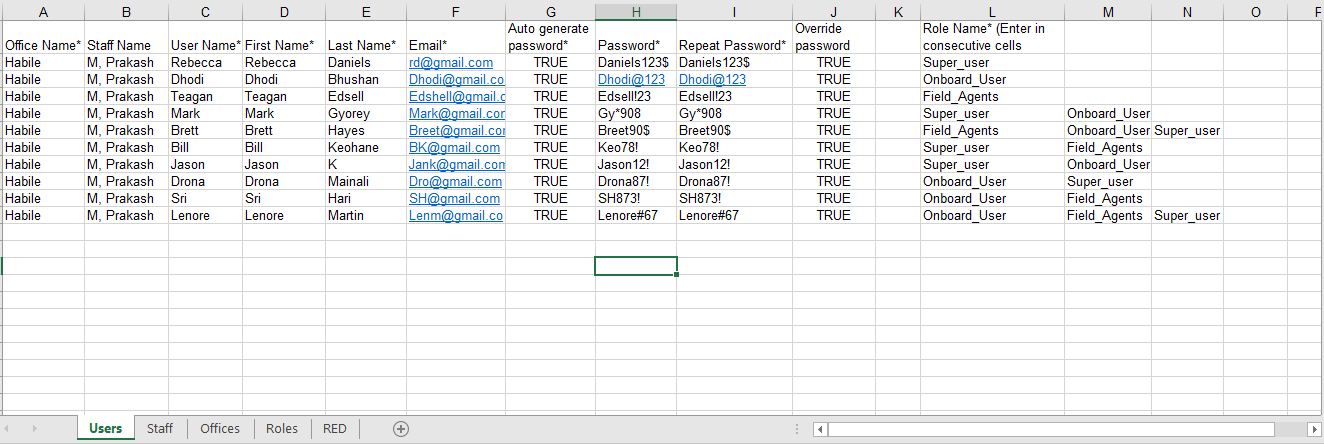
In the template, you can see 4 different sheets. In the Users Sheet, you need to update the User details you want to Import. In the Staff Sheet, the system will show the selected Staff detail and Staff ID associated with the selected office. In the Offices sheet, the system displays the selected Office name and Office ID. In the Roles sheet, the system displays the available roles to choose for every user.
Field Name & Description
Office Name(*) – Choose the office name from the drop-down in which you want to add the user details
Staff Name – It will automatically show the Staff Name associated with the Office Name. You can select the Staff Name to which you want to tag the user
User Name(*) – Specify the User Name. It will be used as the login name
First Name(*) – Specify the First Name of the user
Last Name(*) – Specify the Last Name of the user
Email(*) – Specify the Email Id of the User. It should be a unique value, the system will not accept the same email for 2 different users
Auto generate password(*) – Select the value from the drop-down, True denotes the password will be generated automatically and sent to the corresponding user’s email address. False denotes the system will ask you to enter your password.
Password(*) – Specify the Password and it should be the combination of alphabets, special characters, and numbers
Repeat Password(*) – Reenter the same password to confirm
Override password expiry policy(*) – You can choose either True or False, True denotes the password for this particular user will never expire. False denotes the system will ask the user to reset the password once the specified days are over (You can specify the days in Admin > System > Global Configurations > force-password-reset-days).
Role Name(*) (Enter in consecutive cells horizontally) – Specify the Roles of the user in consecutive cells horizontally. The user can have multiple roles assigned to them
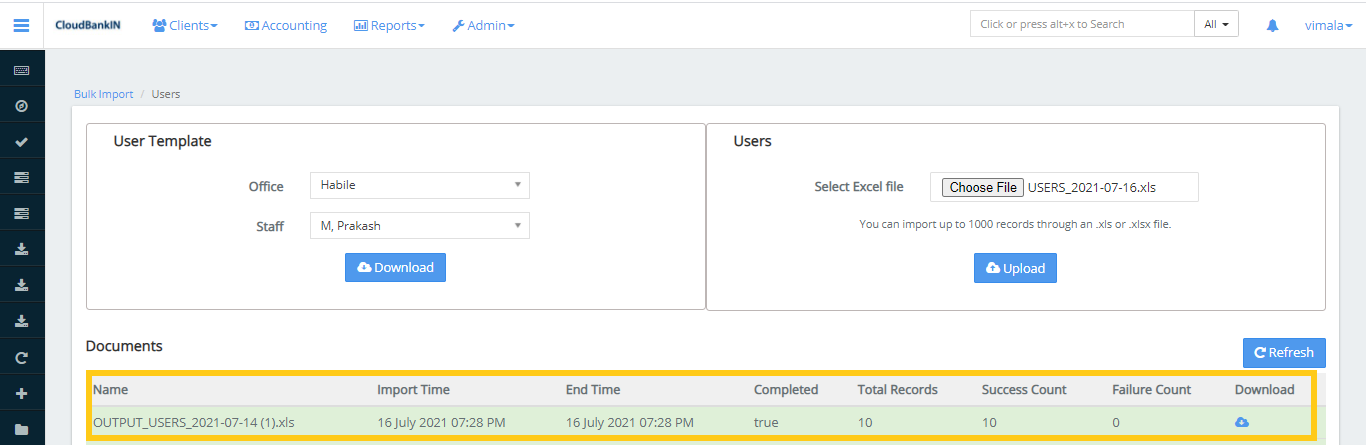
Once the file is uploaded click on the Refresh button and check the details in the Users form.
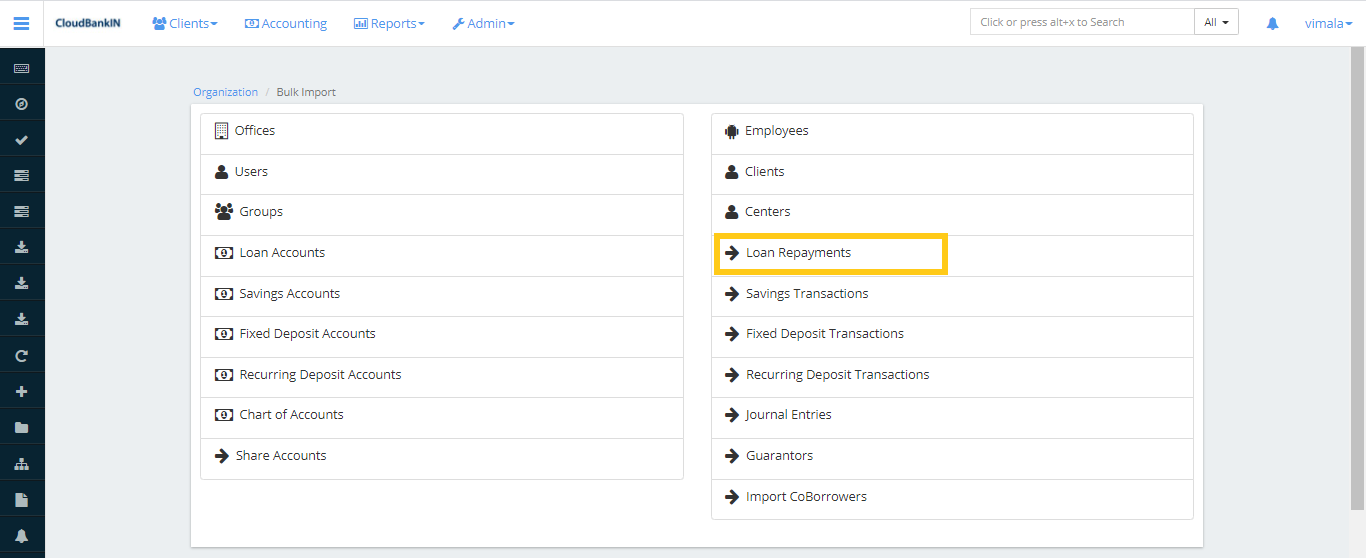
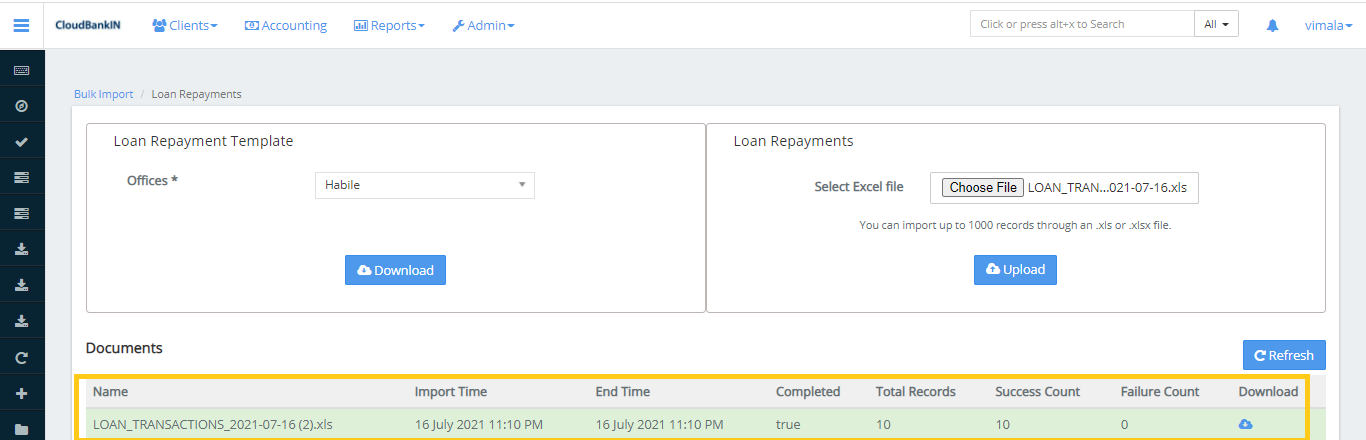
Loan Repayments
Go to
Admin ->
Organization ->
Bulk Import ->
Loan Repayments
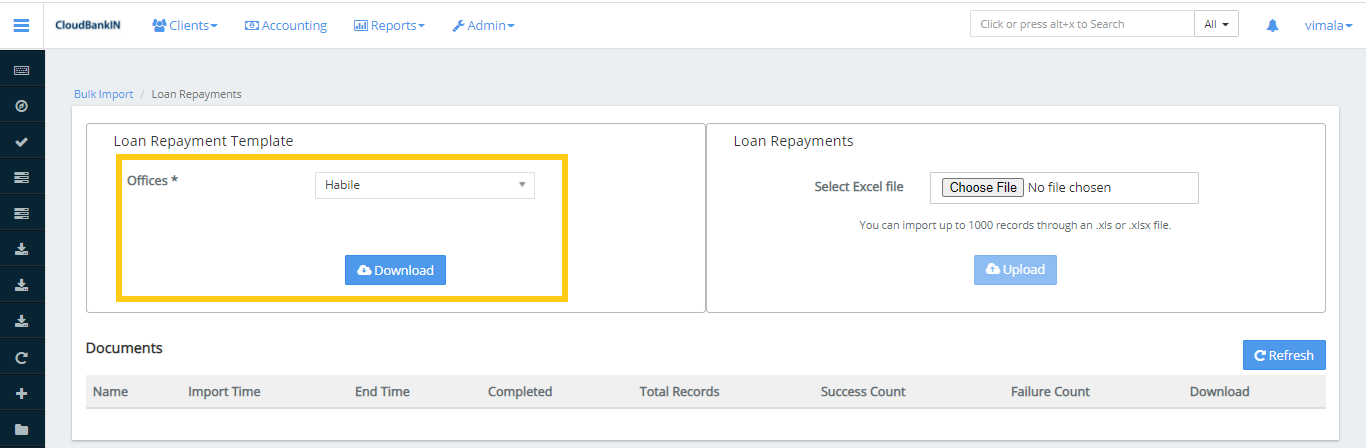
Select Office from the drop-down.
Click on the download button to get the template to import the Loan Repayment.
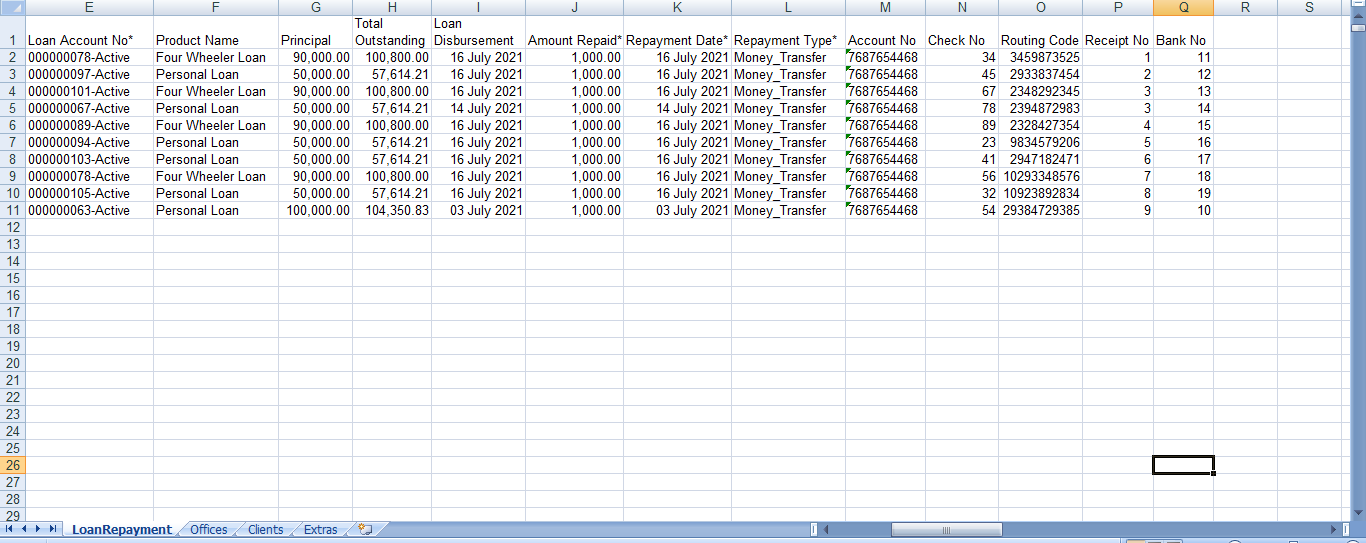
In the template, you can see 4 different sheets. In the Loan Repayment, you need to update the User details you want to Import. In the Offices sheet, the system displays the selected Office name and Office ID. The Client Sheet contains the list of Client Names, Client ID, and Client External ID associated with the selected office.
Field Name & Description
Office Name(*) – Choose the Office Name from the drop-down. By default, it shows the selected office name
Loan ID(*) –Enter the Loan ID of the user for which the repayment is going to be made. Once you enter the loan id the following fields will be automatically populated. The fields are Client Name(*), Client External ID, Loan Account Name(*), Product Name, Principal, Total Outstanding Amount, and Loan Disbursement Date.
Amount Repaid(*) – Specify the amount to be repaid
Repayment Date(*) ( mm/dd/yyyy ) – Specify the repayment date
Repayment Type (*) – Choose the type of repayment from the drop-down
Account No – Specify the Client’s account number
Check No – Specify the Client’s Check No
Routing Code – Specify the Client’s Routing Code
Receipt No – Specify the Client’s Receipt Number
Bank No – Specify the Client’s Bank No
Once the file is uploaded click on the Refresh button and check the details in the corresponding Loan Account.