The Organization having multiple locations should have the option to customize the holidays across their offices. This option helps to manage the holidays for each office of your organization.
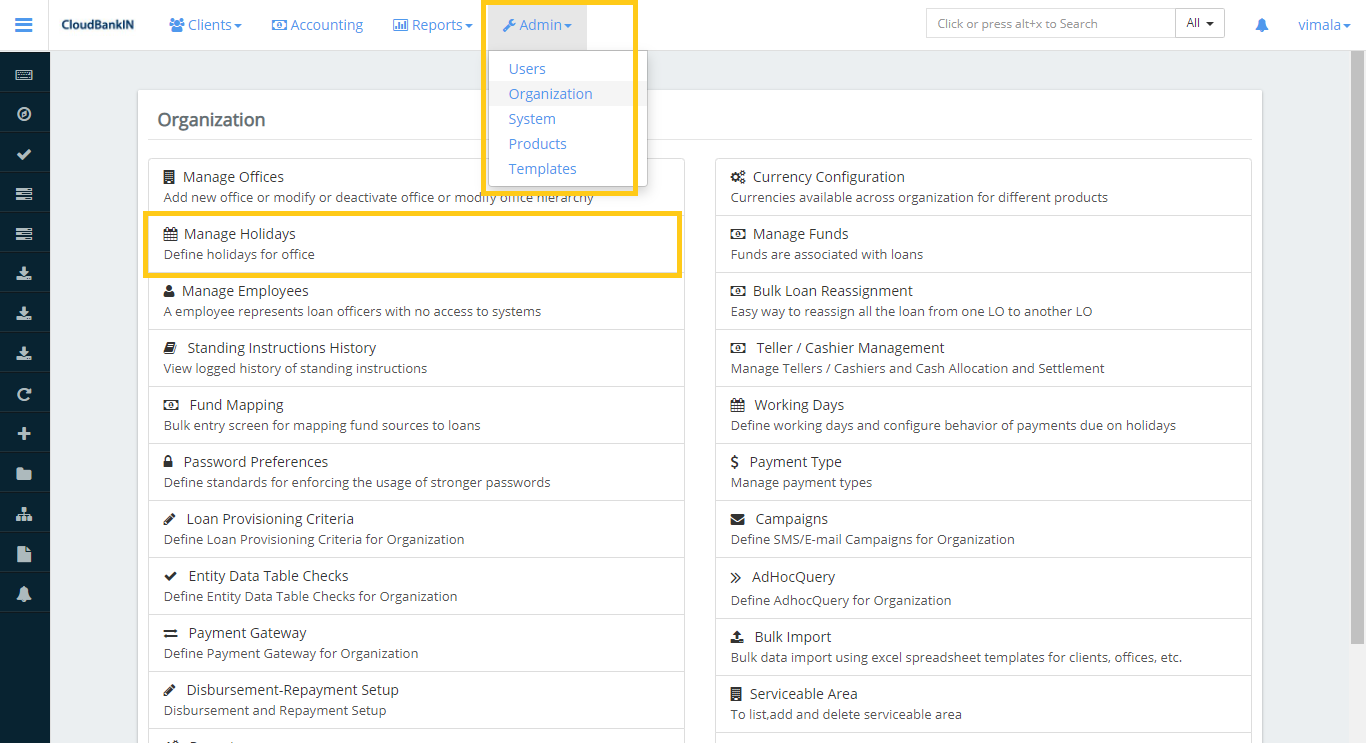
Go to Admin ->> Organization ->> Manage Holidays.
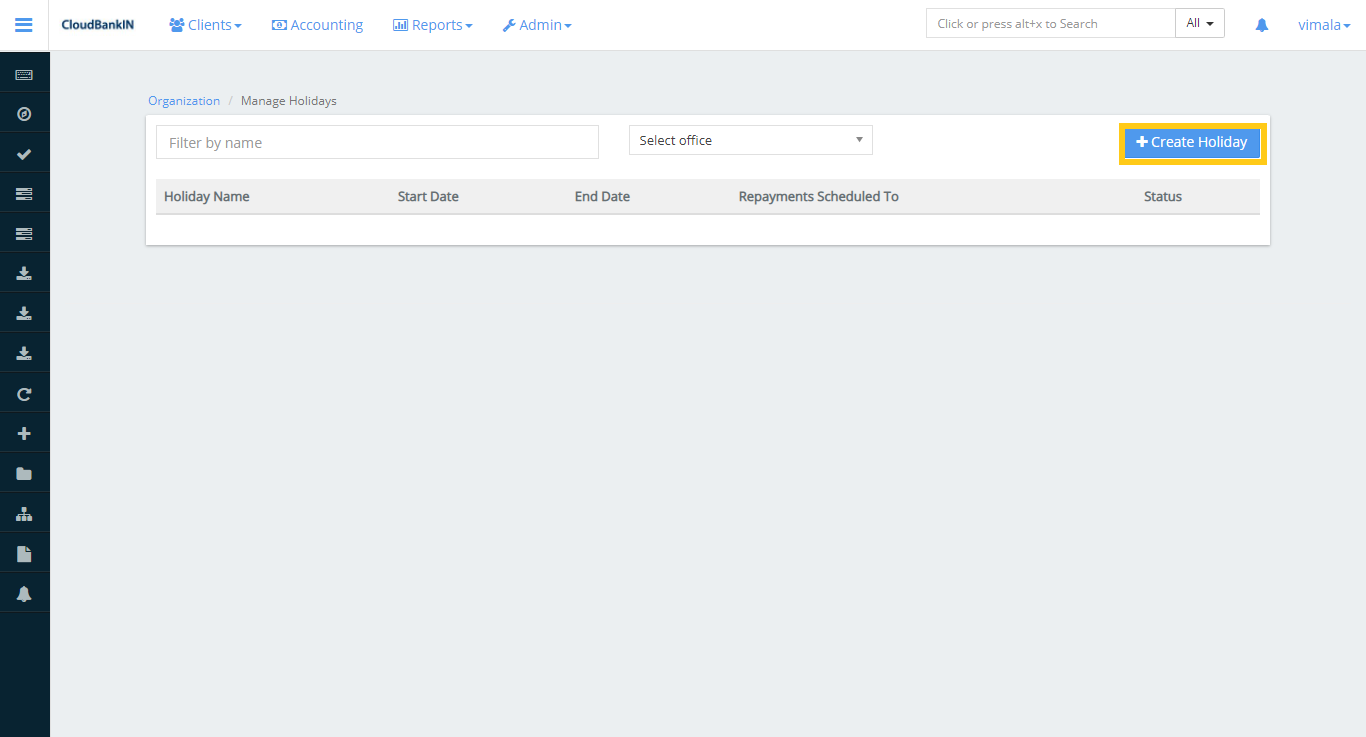
Add Holidays
This option allows creating new holidays for each office in your organization. In the Manage Holidays form, click on the +Create Holiday button to add the holiday details.
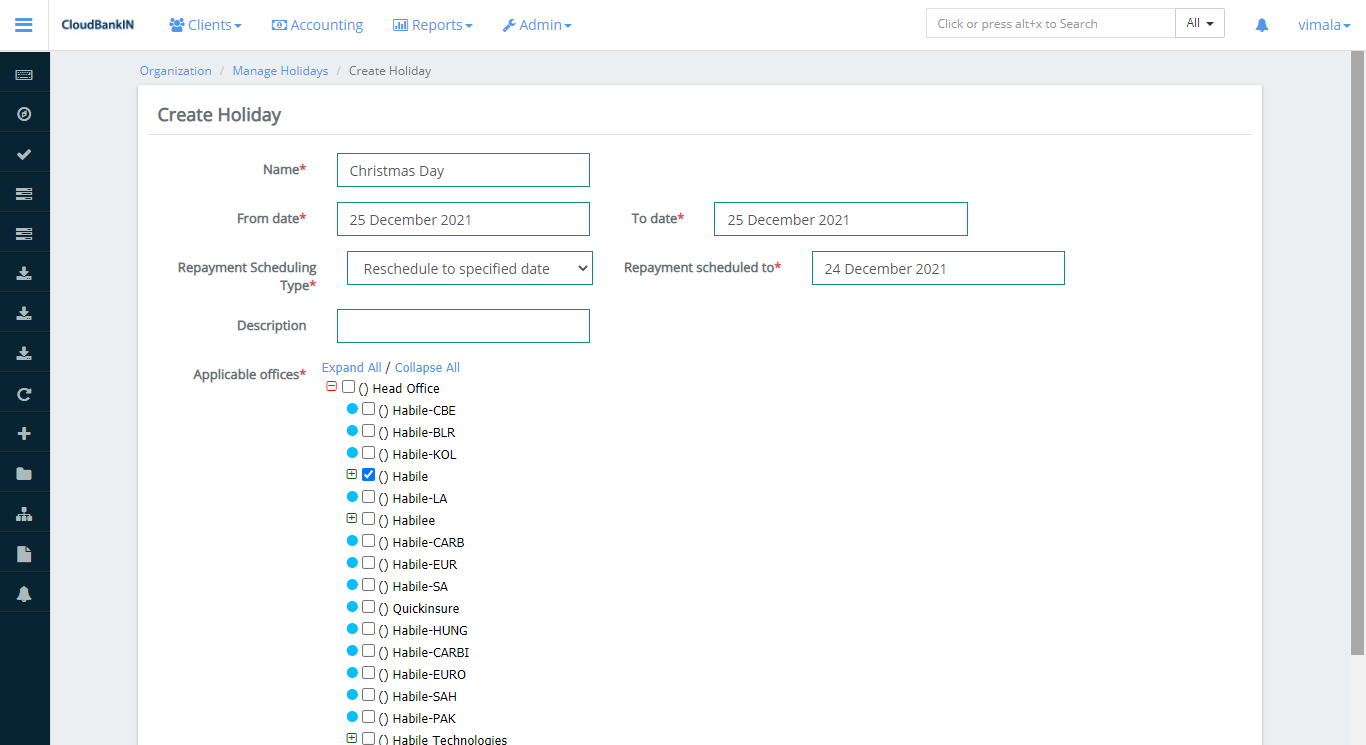
It will land in a created holiday form where you can update the holiday details which need to be added.
Field Name & Description
Name(*) – Specify the holiday name that needs to be added
From date(*) – Select the first day of the holiday
To date(*) – Select the last day of the holiday
Repayment Scheduling Type(*)
Rescheduled to specified date – Select if reschedule to a specified date
Repayment scheduled to (*) – Select the repayment schedule date
Rescheduled to next repayment date – Select if reschedule to next repayment date
Description – Specify the description of the holiday
Applicable Offices – Select the name of the Branch Office to which a newly defined holiday should be applied.
Click on Submit once the holiday details have been updated.
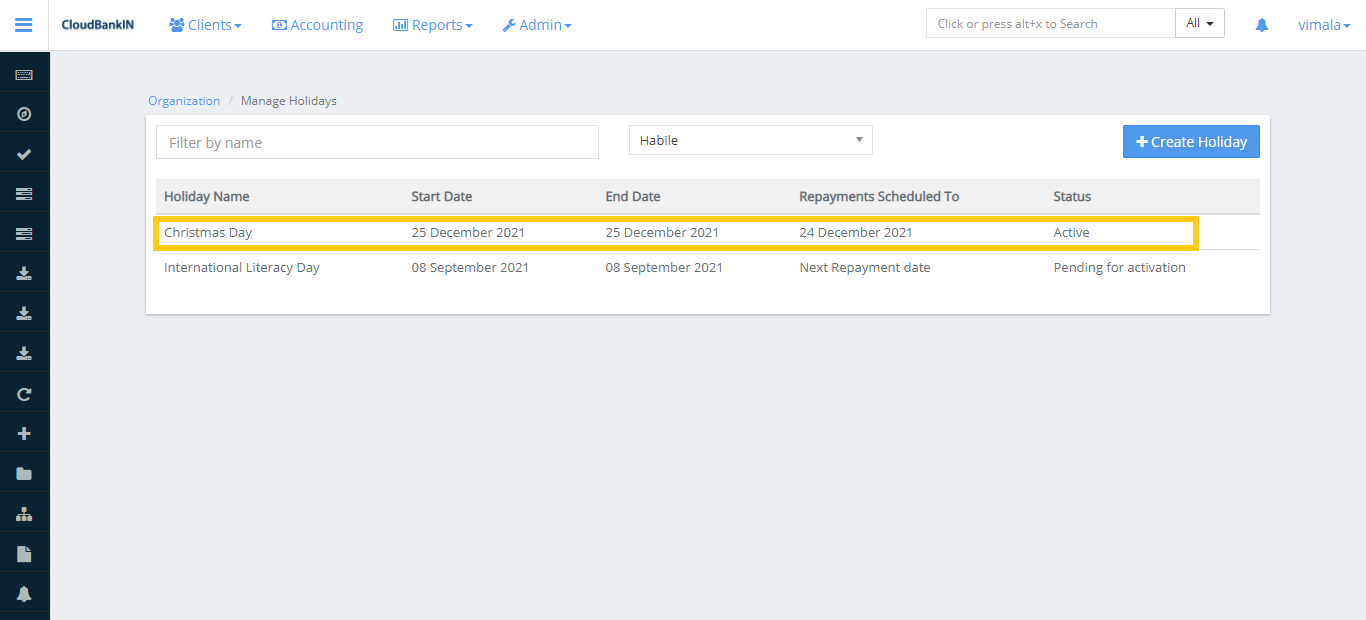
View Holidays
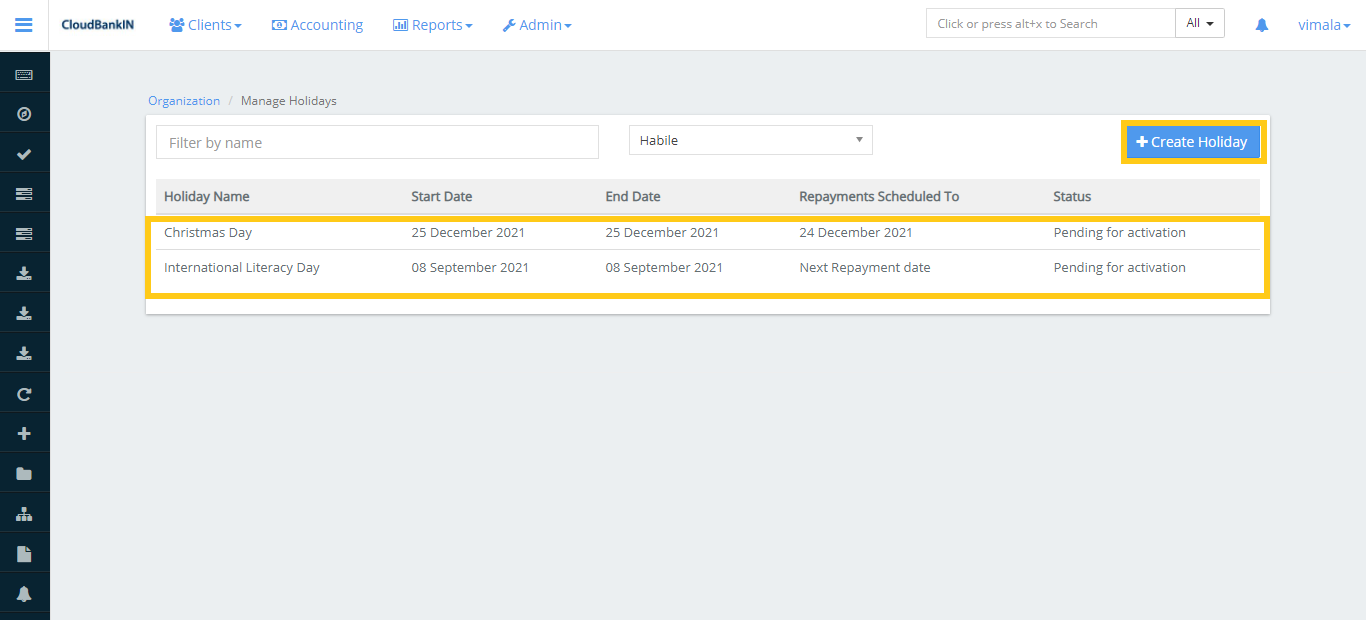
In the Manage Holidays form, select the office name to view the list of holidays that has been added.
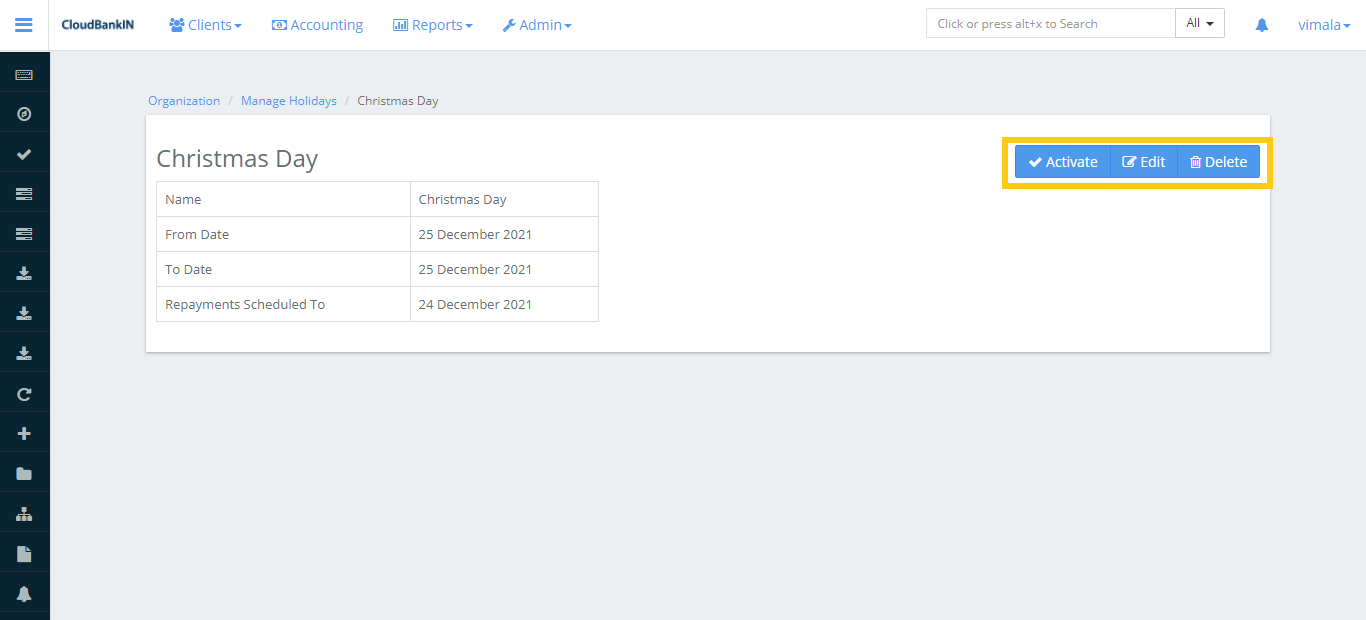
Edit or Delete the Holiday
Click on the holiday name to Activate, Edit, or Delete the Holiday.
Activate – Click on the Activateoptionand confirm it to activate this particular holiday
Edit – Click on the Edit optionto add or change the Holiday detail
Delete – Click on the Delete optionto delete this particular holiday
In the Manage Holidays list, it displays the Active and Pending status for which we have newly added.