As a first step, you need to set up an Office for your Organisation. Once it is done you can create Branches, Products, Clients, and maps to your Office. You can also have a balance sheet and income statement for each branch.
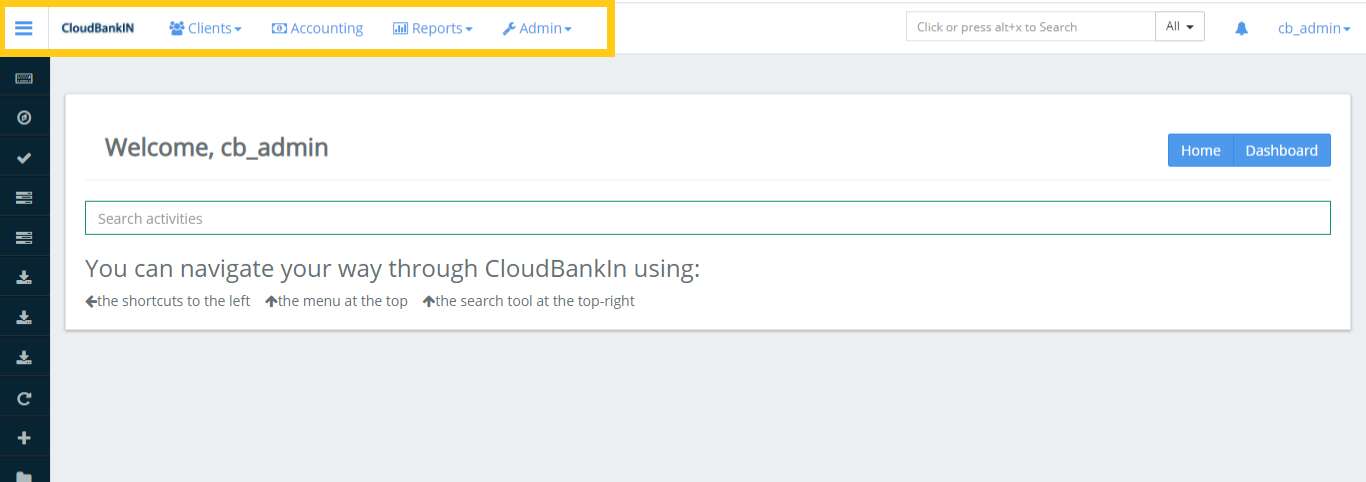
Once you have logged in to CloudBankIn you can see the following navigations at the top of the page.
Create Head Office
The first thing we should do is set up your organization’s headquarters and branches.
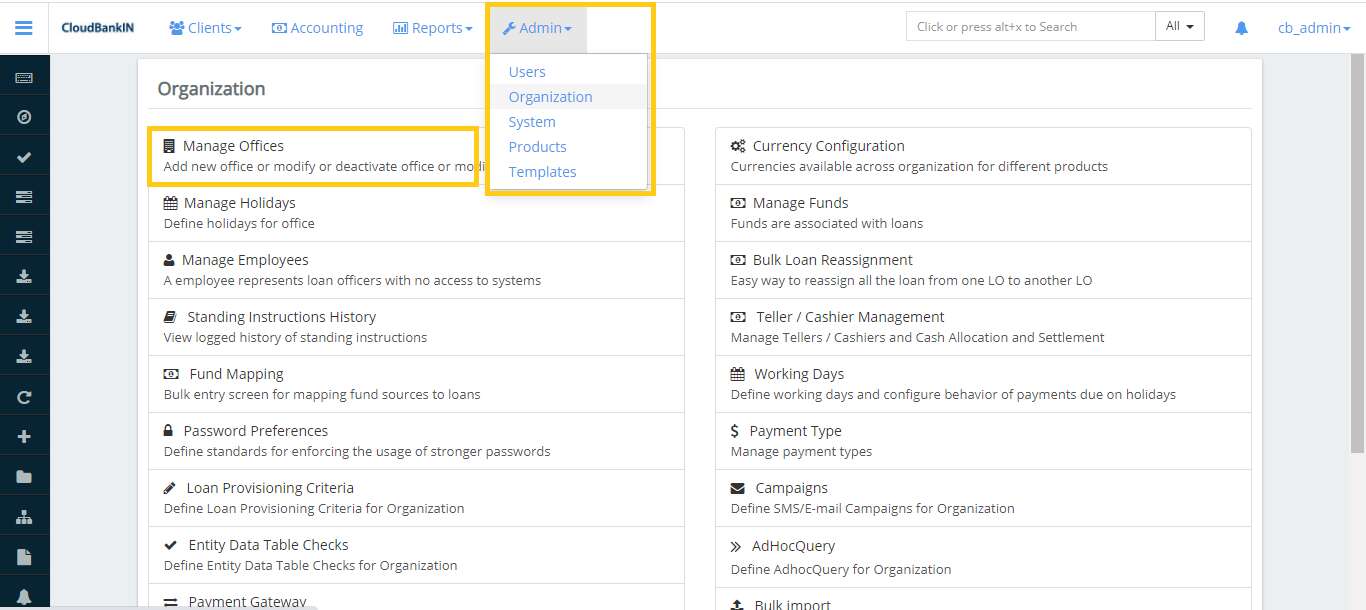
Click on the Admin and choose an Organization.
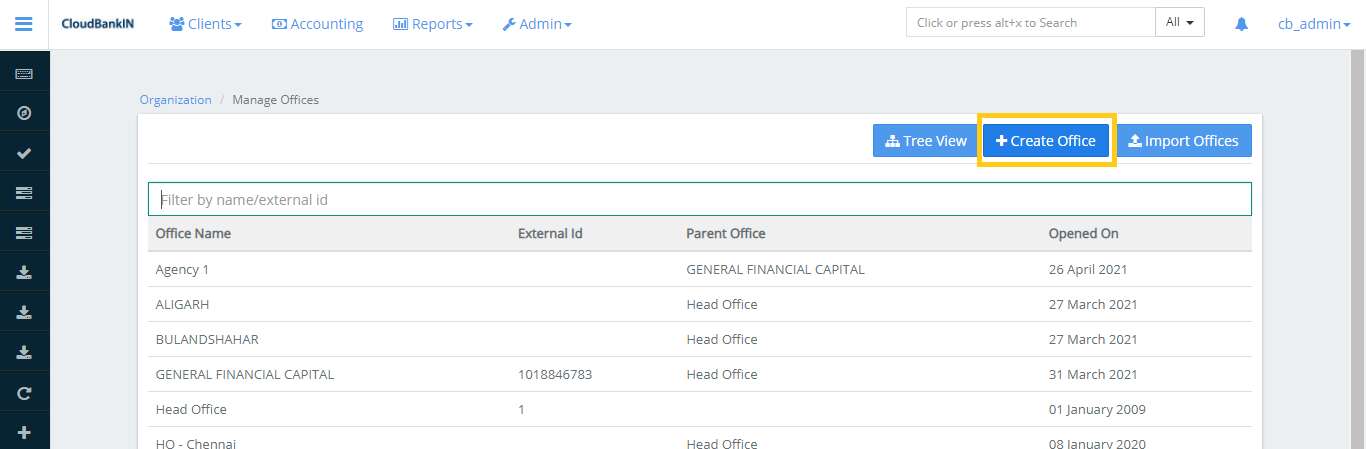
When you select Manage Office, a list of existing Organizations will appear.
Click on the Create Office to create a head office.
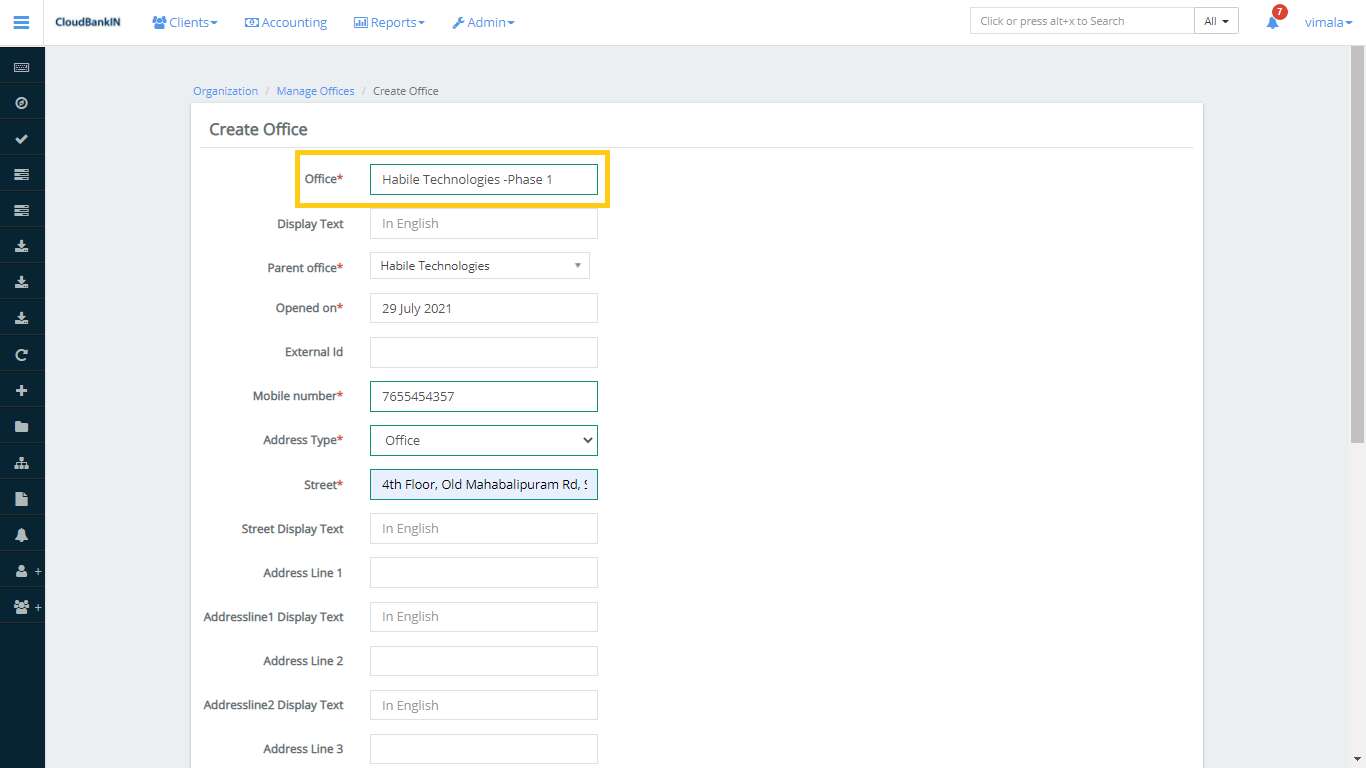
Fill out the Create Office form with your office information and double-check that all mandatory fields are updated before clicking Submit.
Field Name and Description
Office(*) – Specify the name of your Organization
Office Display Text – Specify the text to be displayed on the mobile or web screen
Parent Office(*) – Select Head Office (Habile has set it as a Parent’s Office). You can choose the name of your parent office while creating a branch office.
Opened on (*) – Choose the date your organization opened this office. You are able to provide the loans post the organization opened date. (ie., If the Organization is opened on June 10th, you will not be able to provide the loans prior to that day)
External ID – Specify any reference unique identifier of the client (i.e, Client’s application number)
Mobile Number(*) – Specify your mobile number
Address Type (*) – Choose the Address Type from the drop-down (ie,. Permanent, Office, etc.,)
Street (*) – Specify your street name
Street Display Text – Specify the text to be displayed on the mobile or web screen
Address Line 1 – Enter your head office address
Addressline1 Display Text – Specify the text to be displayed on the mobile or web screen
City – Specify the city where your head office is located
City Display Text – Specify the text to be displayed on the mobile or web screen
Postal Code – Enter the Pincode of your head office location
District – Enter the District where your head office is located
State / Province – Enter the state where your head office is located
Country – Enter the country name where your head office is located
Serviceable Area Pincodes – Specify the service Pincode for the location where the office provides loans
Selected Serviceable Area – Select the Service Area Pincode from the drop-down and click on >>
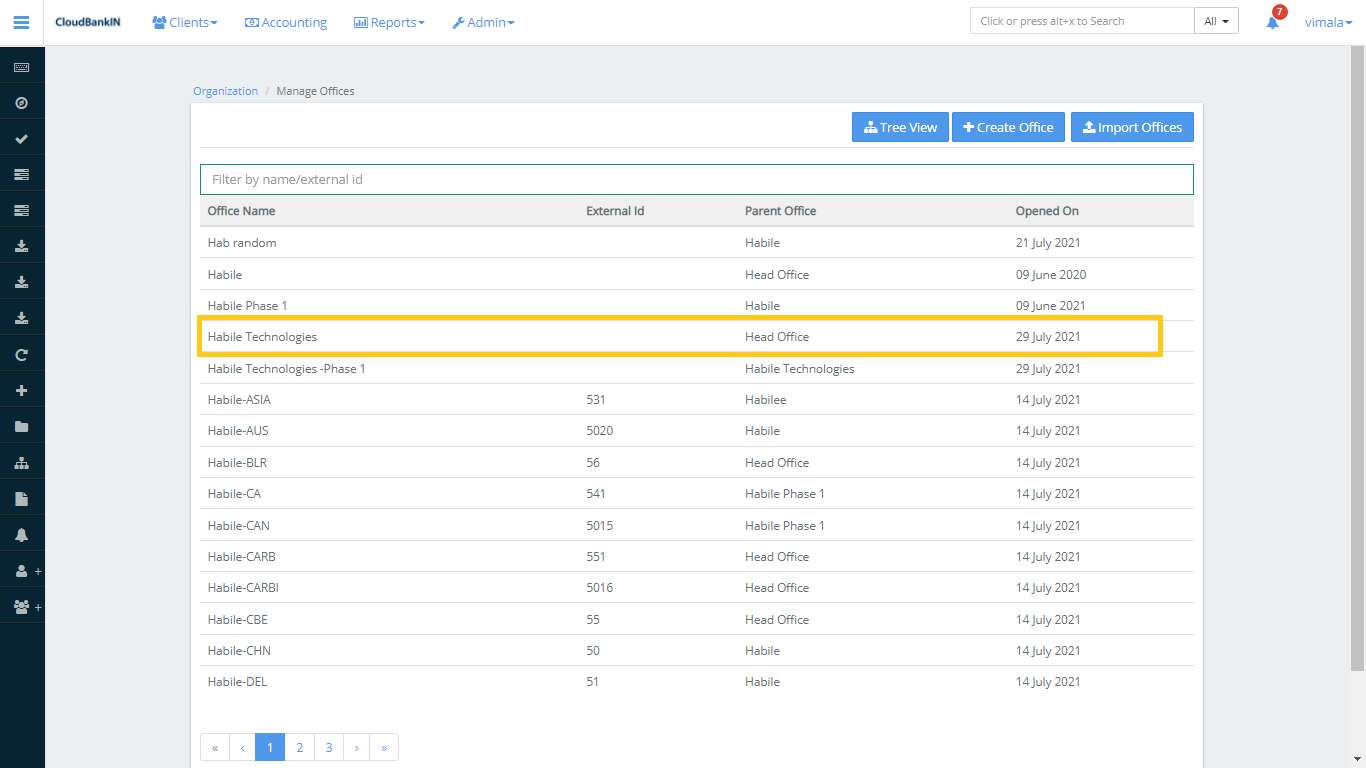
Once you submit, the office will be created and displayed in the
Mange Office form.
Create Branch Office:
Select Create Office and update the branch information (Refer: Above Field Name & Description pointers to fill the branch office details). Choose your head office as Parent Office and Submit.
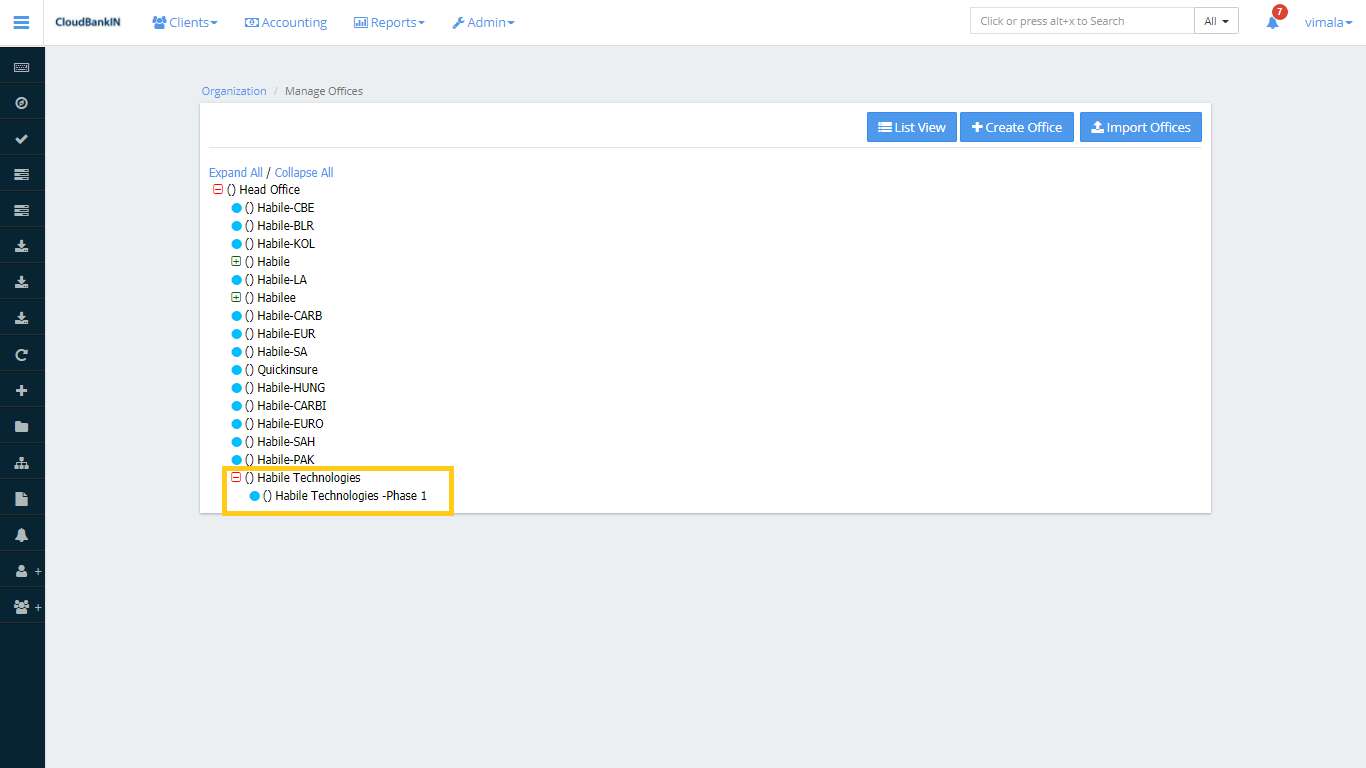
Now your Branch Offices have been created and listed in the Manage Office form.
Similarly, you can add more branches, and in the Tree View, you can see your organization’s office hierarchy.